
















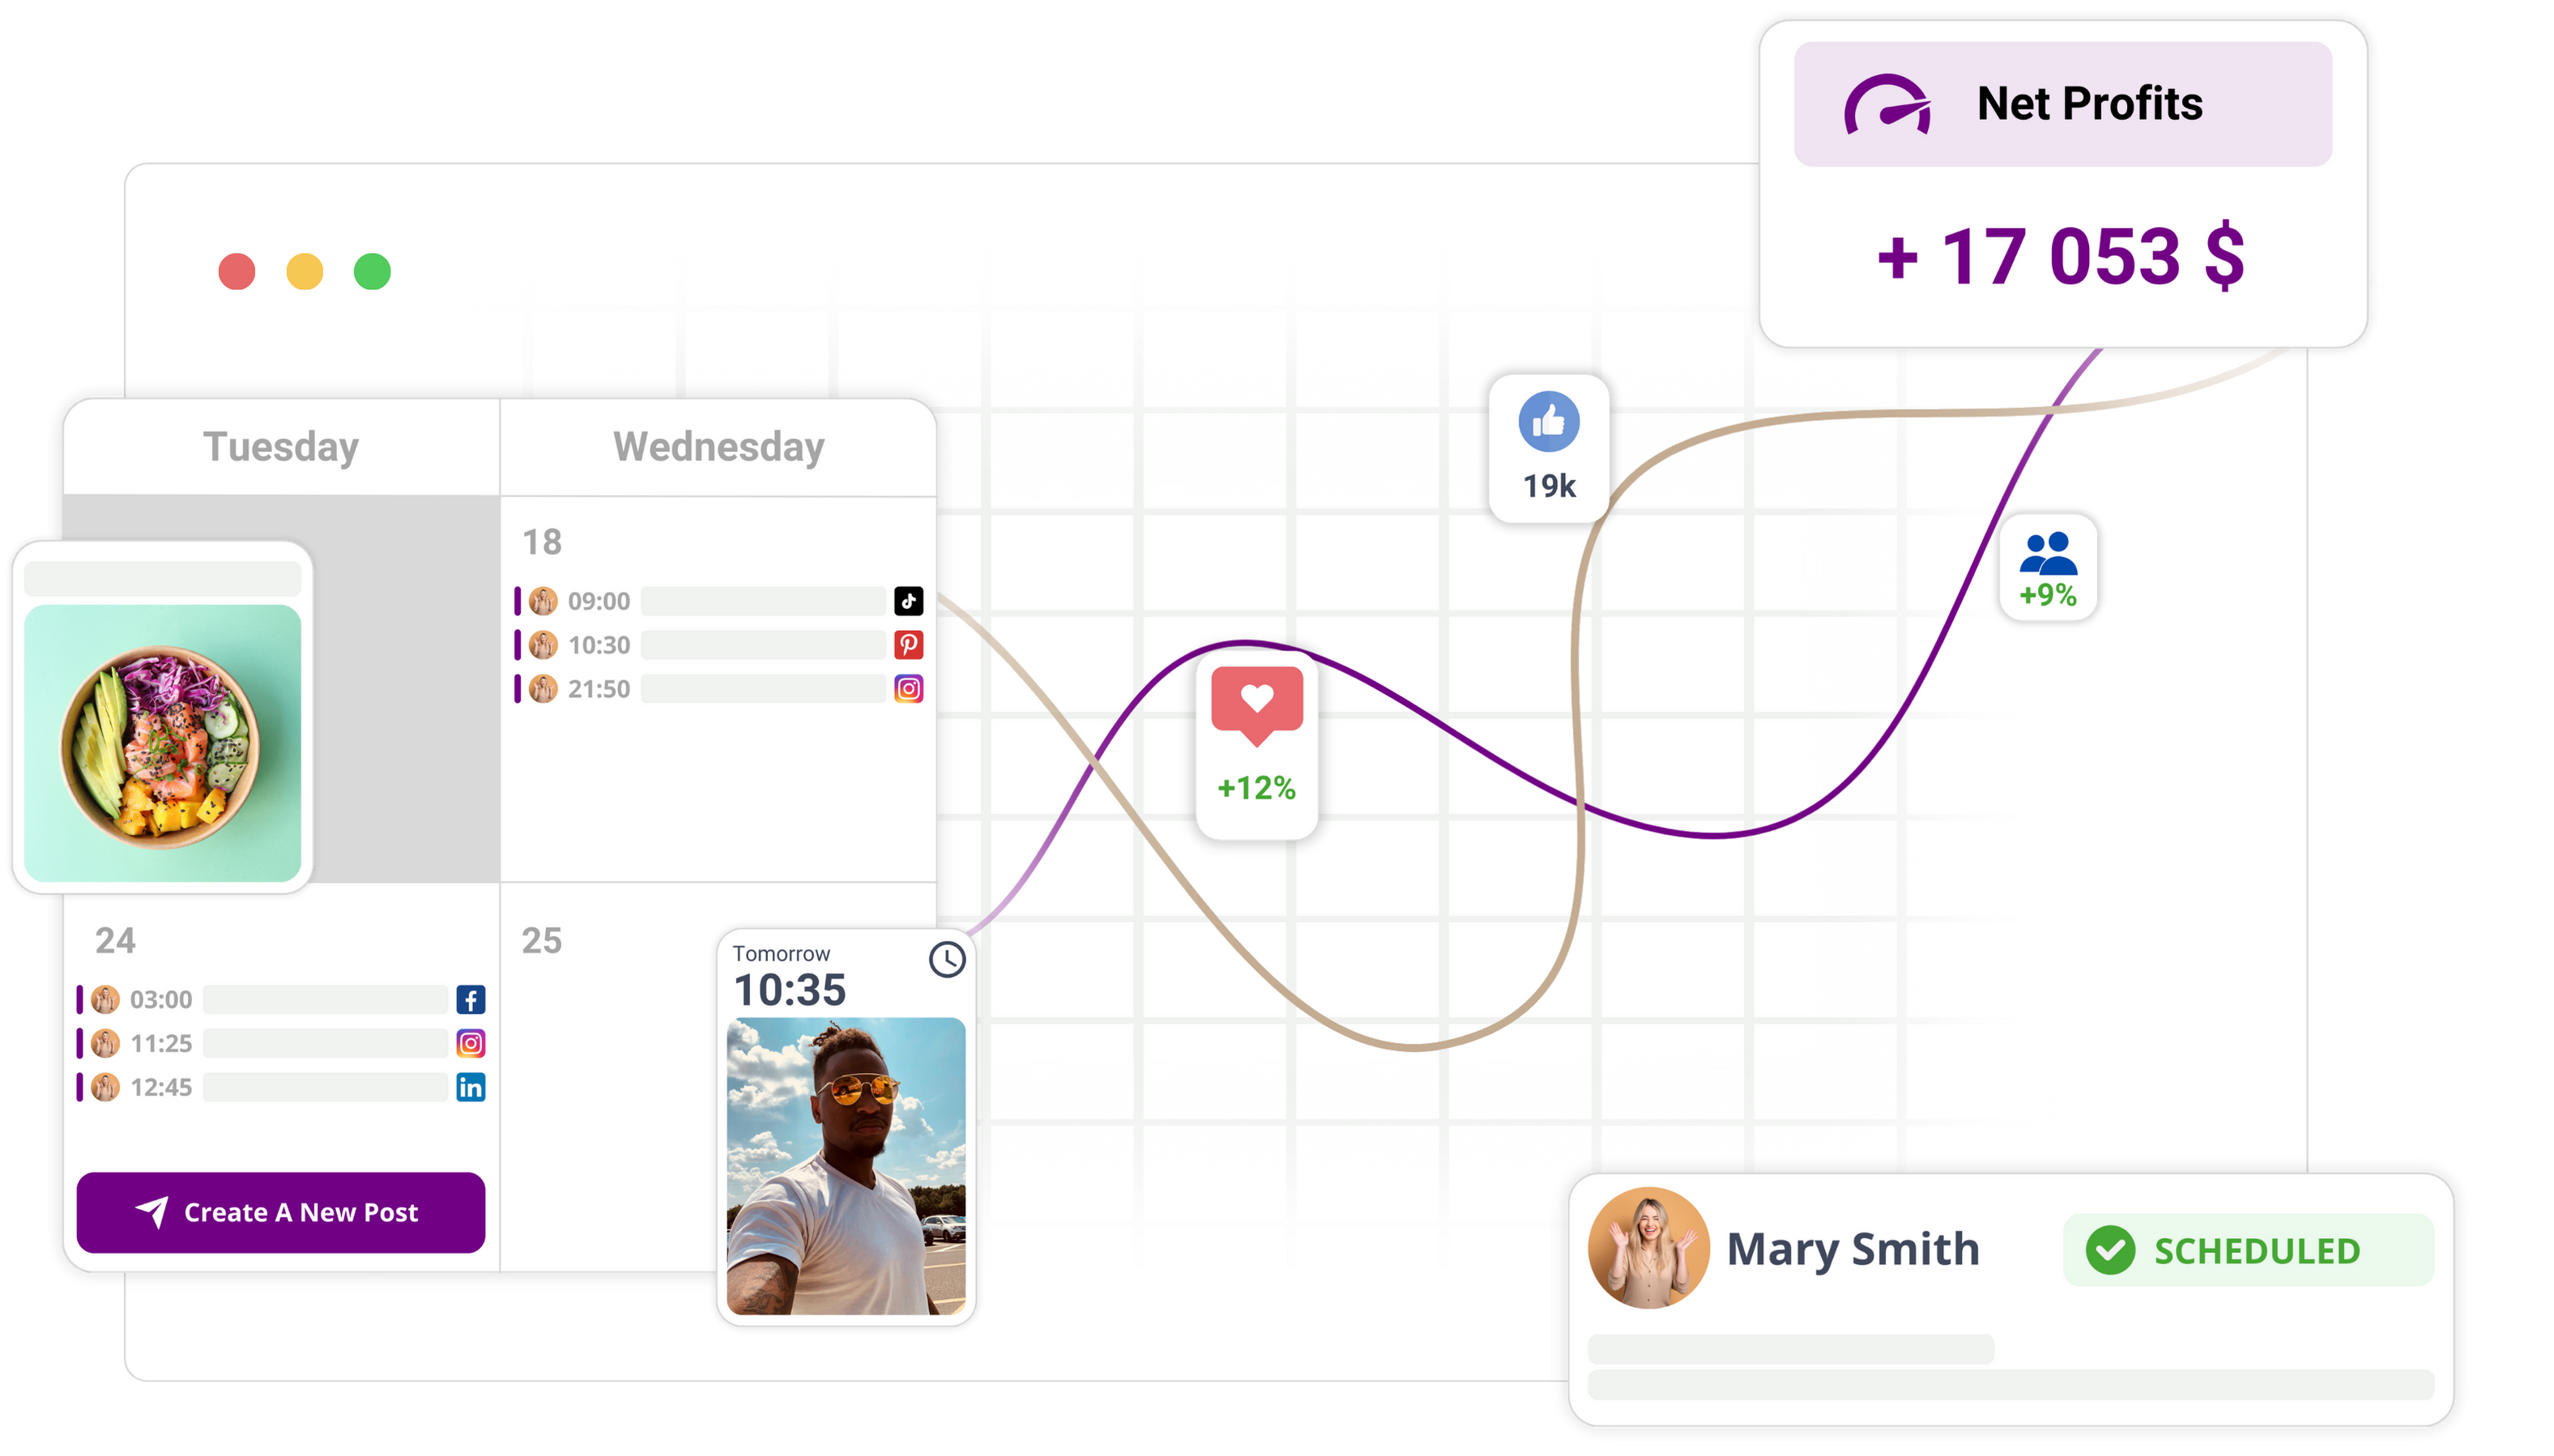
By the end of this tutorial you'll have a saved automation in Mydrop that posts to the profiles or profile groups you choose, shows status and permissions, and can be run, paused, duplicated, edited or deleted. Open Automations from the main navigation and click New Automation to launch the Automation builder. Run through the checklist below before you start building.
Mydrop data, 30 days to 16 September 2026: what happened to scheduled posts when their time came, across posts published through Mydrop.
| Outcome | Share of posts |
|---|---|
| Live, no issue | 89.9% |
| Live, with a warning | 8.5% |
| Failed | 1.5% |
| Stuck in the queue | 0% |
That is 98.5% live at the first attempt. The most common warning was a YouTube custom thumbnail skipped because the channel was not phone-verified; the most common failure was an expired platform connection. Both can be fixed before the post is due, which is what a pre-publish check is for.
Before you start
Confirm your connected profiles and profile groups.
- Open Profiles and check that each social account you plan to use shows as connected.
- If a profile is missing, connect it before building the automation. An automation can't publish to a profile that isn't connected.
Prepare your captions and media files.
- Draft the caption text you'll reuse or turn into a template.
- Put images, videos or other media in a folder you can get to easily, so you can attach them during setup.
- Make sure media meets the platform requirements for size and format.
Decide on a trigger and schedule.
- Choose whether the automation will use an interval, a specific date/time or another trigger type available in the builder.
- Confirm the timezone you want for scheduled runs so posts go out at the intended local time.
Identify approvers and permissions.
- Choose the workspace members who should approve posts if you're going to use an approval workflow.
- Confirm approvers have the access they need in the workspace to receive approval requests.
Check notification preferences.
- Review how your workspace receives notifications (email, WhatsApp or in-app) and switch on the channel you want.
- If you expect approvers to be notified, make sure their contact method is set up.
Prepare platform-specific options.
- If posts need platform-specific settings (link previews, location tags or tagging), note those options before adding content.
- Gather any required metadata such as location names or tag handles.
Check account limits and posting policies.
- Make sure target profiles allow automated posting.
- Confirm there are no policy or rate-limit issues that would block repeated publishing.
Short checklist (quick confirm)
- Profiles connected and grouped.
- Captions and media ready.
- Trigger type and timezone chosen.
- Approvers identified and contact methods set.
- Notification channels enabled.
Why these checks matter
- Connected profiles: the builder only shows profiles that are available to the workspace, so missing profiles mean no publishing.
- Media and captions: uploading files during setup is quicker when everything's organised, and missing media can stop an automation from saving.
- Approvers and notifications: if approvals are required but approvers aren't set or notifications are off, posts can stall waiting for review.
- Timezone and trigger: scheduling in the wrong timezone sends posts at the wrong hour, so confirm the timezone before saving.
What you should see before you click New Automation
- A list of the profiles you intend to use in Profiles.
- Draft captions and media files in a folder you can access.
- A clear choice of trigger type and a list of approvers if approvals are needed.
With these items ready, open Automations and click New Automation to start the builder. The next steps walk through naming the automation, choosing triggers and targets, adding content, setting up approvals and notifications, previewing, saving, and testing with Run once or Pause.
This part shows how to open the Automation builder and set up the automation name, trigger and target profiles so the workflow is ready for content and approvals.
Step 1: Open the feature
- From the main navigation, click Automations to open the Automations list.
- On the Automations page, click New Automation to launch the Automation builder.
- Expect the builder to open as a multi-step form or wizard titled New Automation or similar.
- You should see labelled sections such as name, trigger options, profile selection and content/settings.
- Quick checklist before continuing:
- Confirm the profiles you plan to target are listed in Profiles or a profile group.
- If New Automation isn't visible, check workspace permissions or ask an admin to enable Automations for your account.
- Once New Automation opens, scan the top or left of the builder for a progress indicator or step labels. This shows the sequence you'll follow (for example: Basics, Content, Review). Knowing the current step helps you avoid accidentally skipping required fields.
What you should see after Step 1
- The Automation builder interface with an input for the automation name and visible trigger options (you may see a label like Trigger type).
- Controls to select profiles or profile groups.
- Navigation controls such as Next, Continue or Save, plus a way to exit back to the Automations list.
Step 2: Set up the basics
- Name the automation.
- Enter a clear, short name that describes the repeated task (for example: Weekly Product Posts or Daily Morning Stories).
- Use a name your team will recognise when scanning the Automations list or picking from schedules.
- Choose the trigger type or schedule. Follow the builder prompts to pick one of the available options:
- Schedule (specific date and time): pick a calendar date and clock time when the automation should run. Confirm the time zone shown in the builder if there is one.
- Recurring interval: choose how often the automation runs (for example every X hours, daily, weekly). If the builder asks for interval units, enter the numeric value and pick hours, days or weeks.
- One-off or manual runs: if you intend to trigger manually, select the Run once or Manual option when shown. This is handy for testing before you switch on recurrence.
- Check trigger details.
- Look for a brief summary or confirmation line after picking trigger settings (for example: Runs every 3 days at 09:00).
- Fix the schedule now if days, times or recurrence are wrong. Mistaking the time zone or interval usually leads to missed posts.
- Select target profiles or a profile group.
- Click the Profiles or Groups control and pick the connected social profiles or the profile group that should receive published content.
- Expect selected profiles to be listed or shown with icons/avatars. Confirm all intended profiles are included.
- If a connected profile is missing, open Profiles to confirm the account is connected before continuing.
- Set permissions and approvers. (Important for workflows that need review)
- If the builder offers approval options, choose whether posts must be approved before publishing.
- Add approvers from your workspace members list. Enter or select names so the approval request goes to the right place.
- Choose notification channels if available (for example email or another visible option) so approvers receive the approval request.
- Check notifications and workspace visibility.
- Confirm notification preferences shown in the basics step. Notifications make sure assignees and approvers are alerted when the automation runs or needs review.
- Save or move to the next step.
- Click Next, Continue or Save and continue to head to the content and media configuration step. If a Save button appears, save now to keep the basics you've set up.
What you should see after Step 2
- A named automation with its trigger summary visible in the builder.
- The selected profiles or profile group listed.
- Any chosen approvers or approval requirement visible in the basics summary.
- A clear way to continue to add captions, media and platform options.
Verification tip
- Before leaving the builder, confirm the basics summary matches what you intended: correct name, trigger recurrence or date/time, target profiles and approver list. Fixing these here prevents scheduling errors or missing approvals later.
Step 3: Add the content or settings
Outcome: the automation will contain the caption, media, platform options and approval/notification settings that decide what gets posted and how approvals and alerts are sent.
Checklist before adding content:
- Captions ready (plain text or templates).
- Media files uploaded or accessible.
- Approvers selected from workspace members.
- Notification channels set up (email, WhatsApp or workspace notifications).
Add caption text.
- Click the content or caption area in the builder.
- Type or paste the caption. Use any prompt or template fields provided to insert variables if available.
- Check the caption length and required platform-specific fields (for example, hashtags, mentions or link placeholders).
Attach media.
- Click Attach media or Upload and select images, videos or other allowed assets.
- Confirm each file uploads fully. A completed thumbnail or loaded preview usually means it worked.
- If a platform needs specific formats or sizes, adjust media before continuing. This prevents scheduling errors.
Choose platform options.
- For each selected profile, open the platform options panel.
- Set platform-specific choices such as image layout, link preview or card type.
- Check that any required fields for the chosen platforms are filled (for example, alt text or link URL fields).
Set up publishing options.
- If the builder offers posting cadence or interval options, set the schedule details that apply to this automation.
- Confirm time zone and posting time settings match your intended audience window.
- If the trigger is event-based rather than scheduled, confirm the trigger details are complete (for example, new RSS item, form submission or tag event).
Set approval workflow.
- Open the approvals or approver section and choose one or more approvers from workspace members.
- Select how approvers receive requests (email, WhatsApp or in-app notification) if those channels are offered.
- Choose whether approval is required before publishing or optional after a run. This keeps legal and brand review visible.
Set notifications.
- Select notification recipients and channels for success, failure or request-for-approval messages.
- Turn on notifications for stakeholders who need to know about runs or failures.
- Test that notification preferences match your team policy to avoid missed messages.
Final content checks.
- Use any built-in content preview or profile preview to scan captions and media for each profile type.
- Check that tags, links and mentions look right and that media crops or thumbnails display as expected.
- Confirm any placeholders are resolved or will resolve at runtime.
Common mistakes to avoid in this step:
- Forgetting to attach media after adding a caption.
- Selecting a profile that isn't connected or lacks the required permissions.
- Not choosing an approver when approval is required.
- Leaving notifications disabled when the team expects alerts.
- Using a time or timezone that doesn't match the intended publish window.
Step 4: Review the workflow
Outcome: the automation is validated visually and functionally, saved, and ready to run, pause, duplicate or edit.
Preview the workflow.
- Click the Preview or Review step in the builder.
- Inspect the generated post for each selected profile. Confirm caption, media and platform options match expectations.
- If approvals are required, confirm the reviewer step appears in the preview.
Run validation checks.
- Look for any validation messages or alerts in the builder. Resolve missing fields or format warnings.
- Check time and recurrence settings one last time to avoid wrong posting times.
Save the automation.
- Click Save or Save Automation.
- Expect a confirmation that the automation was saved, plus a link or button to return to the Automations list.
Check it in the Automations list.
- Open Automations from the main navigation.
- Find the new automation in the list. Confirm the chosen profiles display and the status shows active or paused as you set it.
- Check the action buttons are there: Run once, Pause, Duplicate, Edit, Delete.
Test Run once and the notification/approval flow.
- Use Run once to trigger a single execution.
- Confirm notifications are received by approvers or stakeholders according to your settings.
- If approval is required, make sure the approver receives the request and can approve or reject. Confirm the automation respects the approval decision.
Pause or duplicate to test the controls.
- Click Pause to make sure the automation stops scheduling new runs.
- Click Duplicate to confirm a copy opens in the builder for quick edits.
Verification checks to confirm setup worked:
- Automation appears in the Automations list with the correct profiles and status.
- Run once produces the expected preview notification and creates an approval request when configured.
- Approvers receive and can act on approval requests via the selected channels.
- Notifications for success or failure are delivered to the chosen recipients.
Common review mistakes to prevent:
- Saving without running a Run once test.
- Overlooking validation warnings in the preview step.
- Not confirming that approvers received notifications on their chosen channels.
- Assuming active status without checking the Automations list.
Conclusion: after these steps the automation should be saved, visible in Automations, and controllable via Run once, Pause, Duplicate, Edit and Delete. If any verification check fails, head back to the builder to fix the caption, media, approvers or notification settings and save again.
Troubleshooting and next steps
Outcome: confirm the automation runs, notifies approvers, and shows the expected status in Automations.
Quick checklist
- Automation appears in the Automations list.
- Target profiles or groups show as selected.
- Status is Active or Paused as expected.
- Caption and media preview look right.
- Approver(s) and notification channels are set.
If the automation doesn't appear in the list
- Open Automations from the main navigation.
- Use the list filters or search field to find the automation name.
- If it's not there, reopen New Automation and confirm you clicked Save at the final step.
If the wrong profiles are selected or a profile is missing
- Open Profiles from the main navigation and confirm the profile is connected.
- In Automations, click the automation to edit, then reselect the correct profile or group and Save.
- If a profile was disconnected, reconnect it in Profiles before re-running the automation.
If media or caption are missing from the posted content
- Edit the automation and open the content step.
- Confirm caption text is in the caption field and media files are attached.
- Replace missing files, then Save.
- Use Run once to test the updated content.
If notifications or approvals didn't arrive
- Open the automation and confirm notification channels (email or WhatsApp) are enabled in the options.
- Confirm approvers are selected from workspace members.
- Check the approver inbox: open Calendar > Post approval to see pending approval requests.
- If approvers report no message, ask them to check spam and their notification preferences in their Mydrop account.
If Run once didn't post or behaved unexpectedly
- From Automations, click the automation and choose Run once.
- Confirm the preview shows the expected profile and content.
- If the preview is right but nothing posted, check the automation status. If it's Paused, click Resume or set the status to Active.
- Edit the automation schedule and make sure the selected time zone and interval are correct for your region.
If approvals are stuck or blocked
- Open the automation and review the approver list.
- Edit to add or replace approvers if the selected member isn't available.
- Use Run once with a test approver to confirm the approval flow sends a prompt and attaches approval context to the post.
If you need duplicate automations for variations
- From the Automations list, select Duplicate for the chosen automation.
- Edit the duplicated copy to change captions, media or targets.
- Save the copy and check it appears separately in the list.
If the automation status or permissions seem wrong
- Open the automation and review owner and permission settings.
- Adjust approvers or workspace roles as needed.
- Save and confirm the Automations list shows the updated status and permission column values.
When to roll back or delete
- If an automation keeps failing, open it and click Delete to remove it.
- Before deleting, use Duplicate to keep a copy for troubleshooting.
- Use Pause to stop an automation temporarily while you debug.
Next steps for validation
- Use Run once to validate content, approvers and notifications.
- Ask approvers to approve a test post and confirm the approval is attached to the post in Calendar > Post approval.
- Keep an eye on the Automations list for status changes and recent run timestamps.
Conclusion
You should now have a working automation saved in Automations with profiles, trigger, content and approval settings configured. Use Run once to test behaviour, Pause to stop runs while you edit, Duplicate to create variations, and Edit to refine content or approvers. If a problem crops up, follow the troubleshooting steps above: check profiles, save changes, confirm notifications and approvers, then test again.

 Google review
 Trustpilot review
 Product Hunt comment





