
















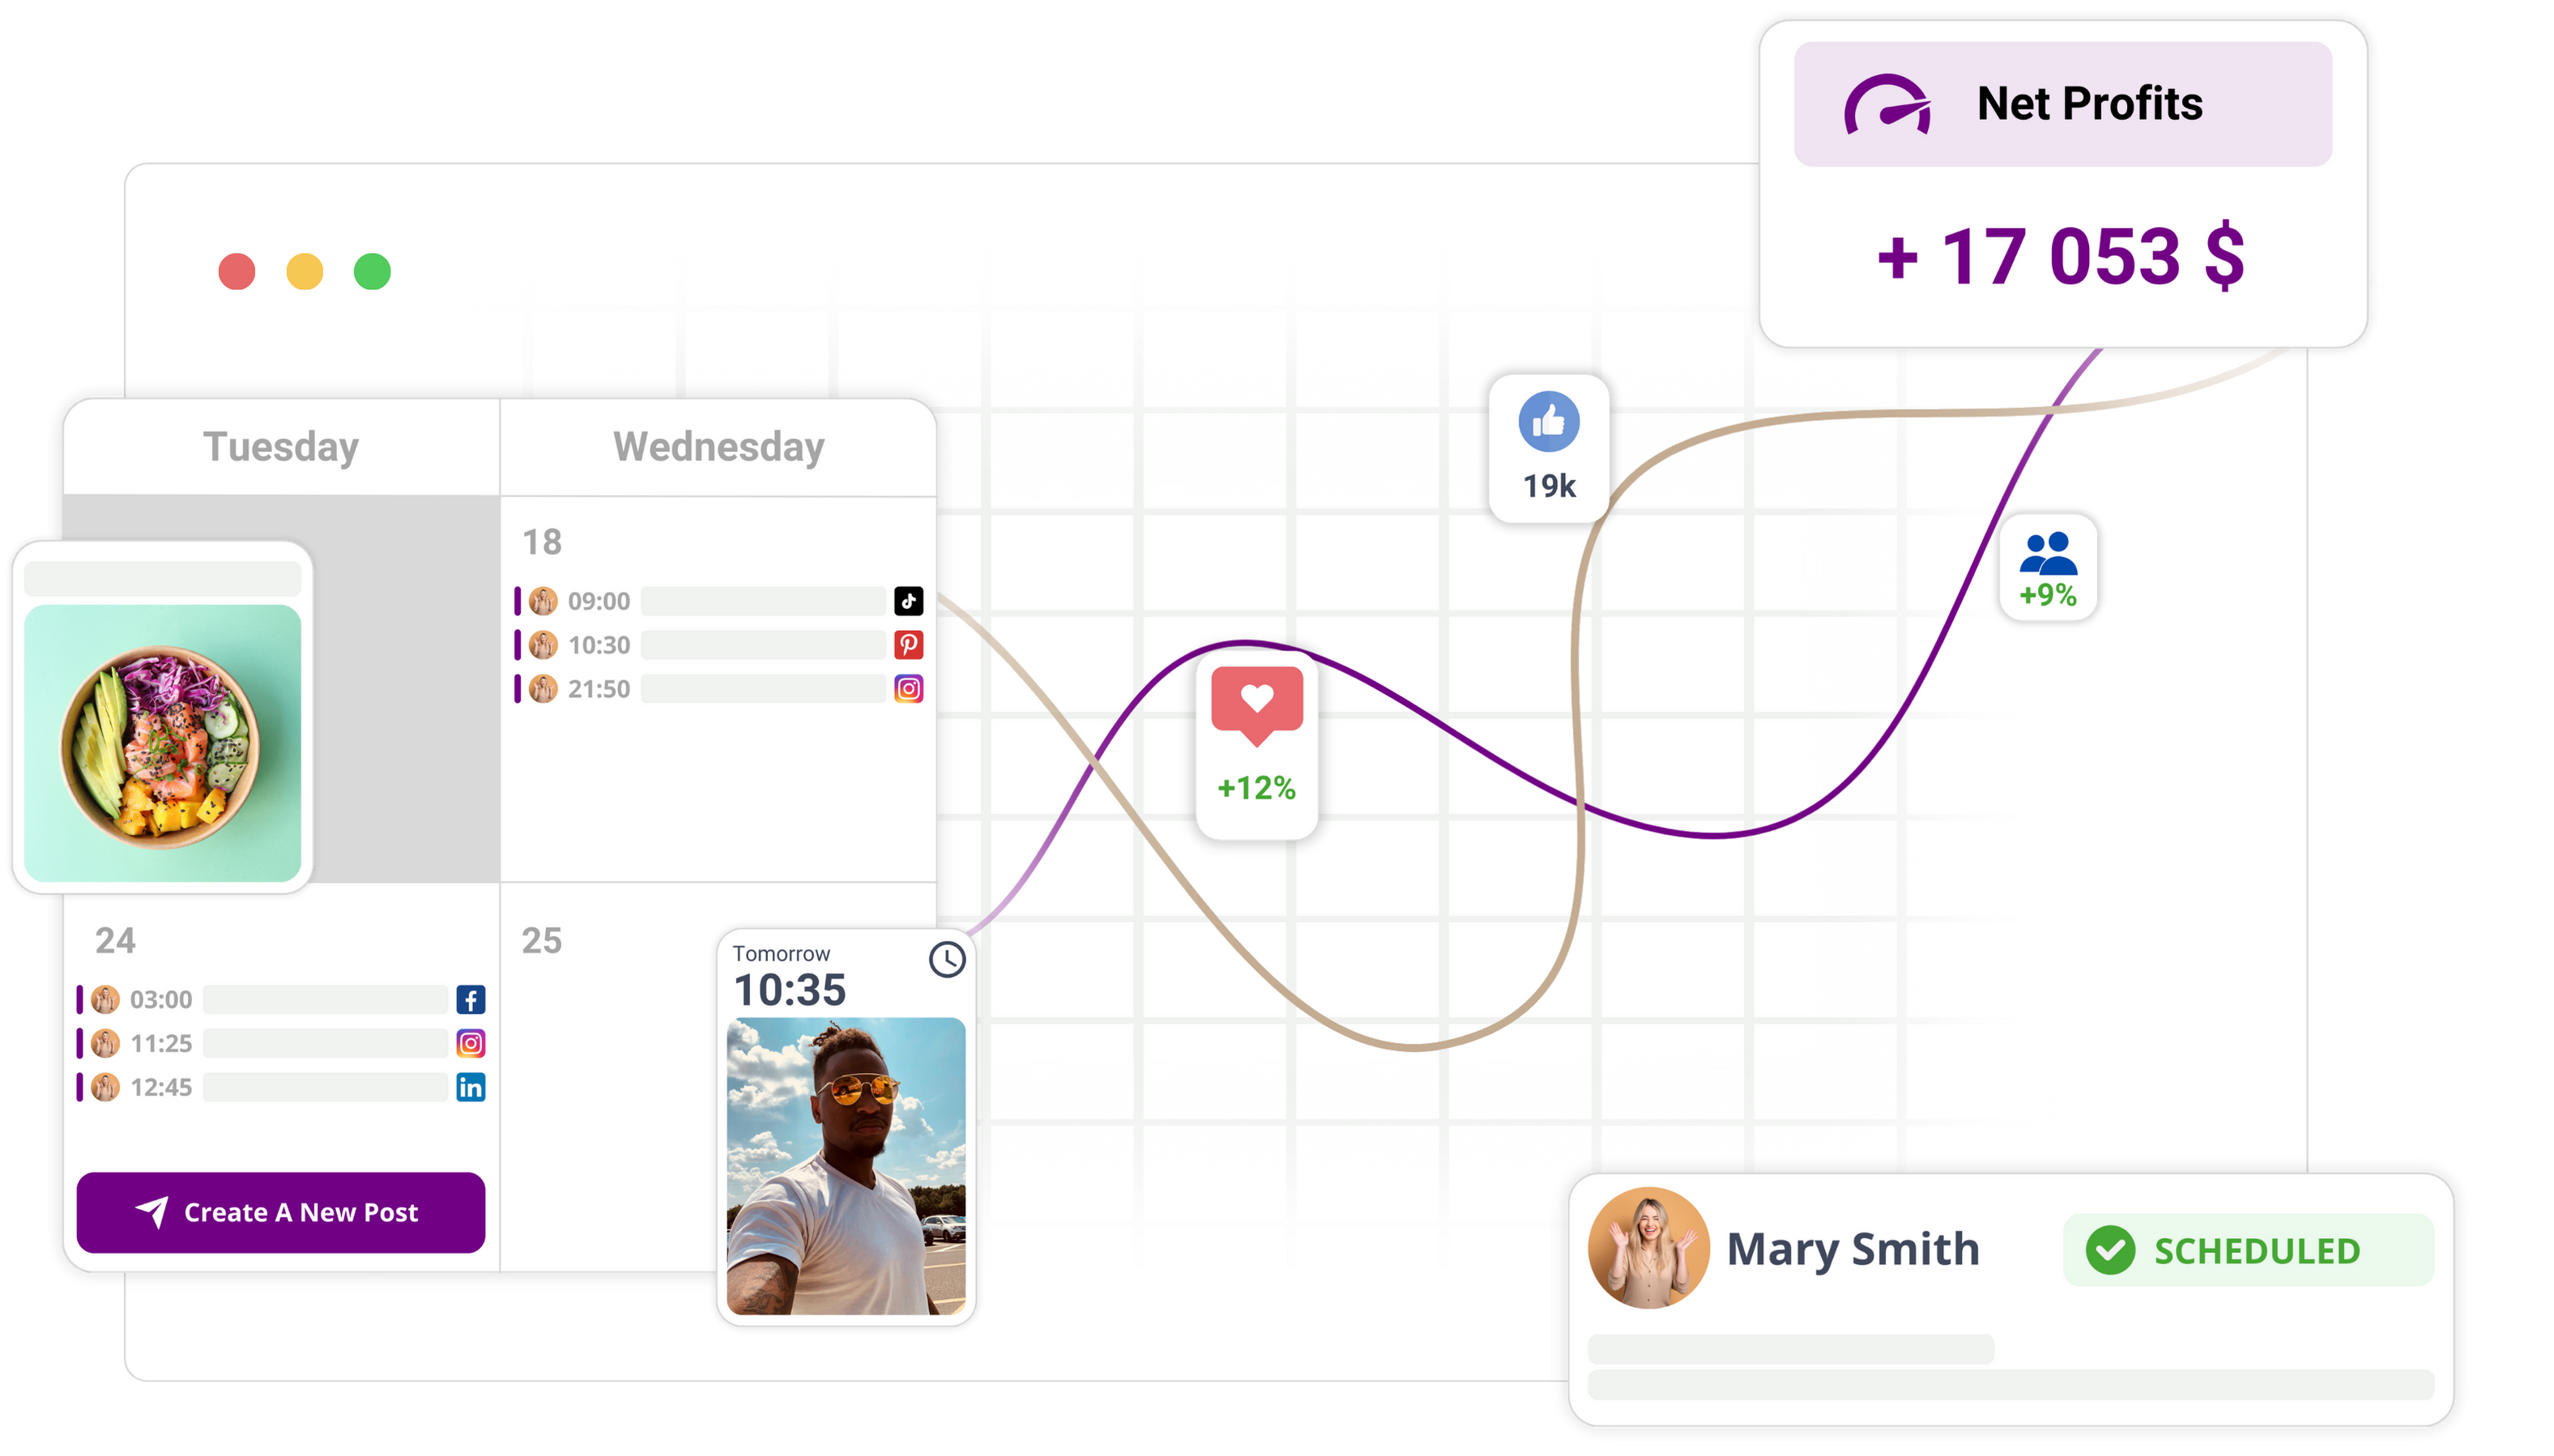
By the end of this tutorial you'll have a saved recurring automation that publishes posts on a schedule to the profiles or groups you choose, all by itself. It'll show an Active status in Automations, and it'll have the permissions and notifications you set up.
Mydrop data, 30 days to 16 September 2026: what happened to scheduled posts when their time came, across posts published through Mydrop.
| Outcome | Share of posts |
|---|---|
| Live, no issue | 89.9% |
| Live, with a warning | 8.5% |
| Failed | 1.5% |
| Stuck in the queue | 0% |
That is 98.5% live at the first attempt. The most common warning was a YouTube custom thumbnail skipped because the channel was not phone-verified; the most common failure was an expired platform connection. Both can be fixed before the post is due, which is what a pre-publish check is for.
Before you start
Confirm publish permissions
- Check you have publish rights for every profile or group you plan to target. Without publish permission the automation won't publish, and you'll need an admin to grant access.
Gather your content and media
- Prepare your post copy, links, and any hashtags or mentions.
- Collect approved media into the Mydrop Gallery. If the files live in Drive, use Gallery > Google Drive import so you can attach them without uploading again.
Decide recurrence and notifications
- Choose the recurrence pattern: daily, weekly, or monthly.
- Decide the interval (every 1 day, every 2 weeks, and so on), the preferred time of day, and the timezone for scheduled runs.
- List who should get notifications (for example, a workspace channel, specific teammates, or email) so reviewers and approvers know when posts go live or fail.
Quick checklist (use this to confirm you're ready)
- I have publish permission for the target profiles/groups.
- Post copy and links are finalised.
- Approved media is in the Gallery (or available in Google Drive).
- Recurrence pattern and times are chosen.
- Notification recipients are identified.
What you'll need in the builder
- A short automation name that describes the recurring task.
- Target profiles or groups selected from your connected accounts.
- Draft content entered in the content field.
- Media attached from Gallery (or Drive) if the post needs images or video.
- Recurrence settings completed (pattern, interval, and time).
- Notification and publish options set.
Why each item matters
- Publish permissions mean the automation can run without anyone stepping in.
- Having media in Gallery stops last-minute uploads from delaying your schedule.
- Choosing the right recurrence and time avoids duplicate or missed posts.
- Setting notifications keeps everyone in the loop and cuts down on follow-ups.
Small prep steps you can do right now
- Open Gallery and confirm the final image or video is there and approved.
- Check the profile list shows the accounts you expect to publish to.
- Note the timezone your team uses for scheduling so nothing gets mismatched.
Next in the tutorial
- Open Automations and click New Automation to start the builder.
- Name the automation, choose targets, set the recurrence, add content and media, review your settings, and save.
- Once saved, check the automation appears in Automations with an Active status, and use Run once to test it if you like.
Keep this page or the checklist handy while you work through the builder. If something's missing, you can pause and head back to the Gallery or permissions settings before saving.
This section shows you how to open the Automation builder and enter the basic details you need to create a recurring automation that auto-publishes posts to selected profiles or groups.
Step 1: Open the feature
From the app navigation, open Automations.
- Look for the Automations entry in your main menu or workspace navigation and click it.
Click New Automation.
- In the Automations view, click the New Automation button to launch the Automation builder.
Confirm the builder opened and the first fields are visible.
- The builder screen shows a header for a new automation and form fields for naming the automation, selecting targets, and choosing a trigger type.
- You should see labels such as Trigger type and options to move through the builder steps (Basics, Content, Media, Options). If a loading state appears, wait until the form is ready.
If you can't see New Automation or the builder won't open, check permissions.
- Make sure your account has access to Automations and publish permissions for the target profiles or groups before you carry on.
Short checklist (quick check)
- Automations screen is open.
- New Automation launched and form fields are visible.
- You have publish permissions for the targets you intend to use.
Step 2: Set up the basics
Name the automation.
- Enter a clear, descriptive name in the Name or Title field. Use something teammates will recognise (for example, Weekly Product Posts). It makes pausing, duplicating, or searching automations much easier later.
Choose target profiles or groups.
- Open the target selector and choose the profiles and/or groups that should receive published posts.
- Select only the profiles you actually want to publish to. Picking the wrong profile is a common mistake and can publish to an account you didn't mean to touch.
Confirm publish permissions for each chosen target.
- After selecting profiles or groups, check the UI isn't showing any permission warnings. If a profile shows restricted access or a permission prompt, sort that out before continuing.
Set the recurrence pattern.
- Find the recurrence or schedule section in the basics step. Choose Daily, Weekly, or Monthly depending on how often the post should repeat.
- Select the interval (for example, every 1 day, every 2 weeks, or every month). Use the interval field so you don't end up with schedules that fire too often.
Specify time and day details.
- Choose the publish time for each occurrence. If weekly, pick the weekdays. If monthly, pick the day of the month or a monthly pattern.
- Check the time uses the time zone or local time you expect in the builder. Getting the time or time zone wrong is a frequent cause of missed posts.
Choose start date and end condition.
- If it's offered, set a start date for when the automation should begin running.
- If the builder offers an end option, choose either never end or set an end date or number of occurrences.
Review notification and permission settings in basics.
- If the basics step shows notification recipients or permission roles, add the team members who should get alerts about runs or failures.
- Confirm who can edit, pause, or run the automation if those permission controls are visible.
Watch for validation messages as you go.
- After filling in the fields, look for on-screen validation or warnings. Fix any errors the form flags (missing name, no targets selected, invalid schedule) before moving on.
Save your progress if the builder offers a save or continue button.
- Click the button to move to the next builder step (Content or Media). The interface should move to the next panel and keep your basic settings intact.
- If a filled icon or a summary appears, check the basics are listed correctly (name, targets, recurrence).
Quick check after basics
- Automation name is set and meaningful.
- Correct profiles or groups are selected and show no permission warnings.
- Recurrence type, interval, and time are set to the values you want.
- Start date and end condition match your plan.
- Notification recipients and permission settings are listed if applicable.
Move on to the Content step once these basics match your plan. If anything's off, edit the basics before adding content so you don't create scheduling errors.
This section shows you how to add the post copy, media, publish options, and notifications so the automation publishes posts automatically on the schedule you set.
Step 3: Add the content or settings
Open the builder content pane.
- Click the content or message area labelled Caption or Post copy.
- Type or paste the exact post text you want the automation to publish.
Add images, video, or attachments.
- Click Add media or Open Gallery to attach files from your Mydrop Gallery.
- To import from Google Drive, choose the Drive option inside the Gallery picker, sign in if required, then select the approved files. Imported files appear in the Gallery and attach to the draft.
- Check media previews appear in the post preview area.
Set captions, links, and metadata.
- Add any required links, hashtags, or alt text in the caption fields.
- If there are separate fields for metadata (for example image alt text or link preview caption), fill those in now so posts publish correctly.
Choose publish options.
- Select whether the automation should Auto Publish or create Drafts (if that option is there).
- Set any platform-specific options shown (for example orientation, video quality, or image crop) before saving media.
Set the timing details for each scheduled occurrence.
- Use the time picker to set the publish time for the automation occurrences.
- For recurring schedules, confirm the interval (hour, day, week, or month) and the exact hour/minute values you want the posts to go live at.
Add notification recipients.
- Select teammates, workspace channels, or email recipients who should get notifications about publishes or failures.
- Check the notification settings are listed in the automation preview.
Optional settings to cut down on mistakes.
- Switch on approvals or require confirmation if you need a teammate to review before a post goes live.
- Turn on post-level conversation threads or attach a Workspace channel for feedback.
Checklist before saving content:
- Post copy present and final.
- All media attached and previewing correctly.
- Time and recurrence interval set for each occurrence.
- Notification recipients and permissions confirmed.
- Platform-specific publish options reviewed.
Step 4: Review the workflow
Preview the scheduled post.
- In the builder, open the preview section and step through each scheduled occurrence.
- Check the text, media, link previews, and any platform-specific options look right.
Verify profiles and permissions.
- Confirm the targeted profiles or groups are listed as the automation targets.
- Make sure you have publish permissions for those targets; the builder shows which accounts are selected.
Confirm recurrence and times.
- Check the recurrence summary (daily, weekly, monthly) and the time picker values for each occurrence.
- Make sure the timezone and hour selections match the publish window you want.
Validate notifications and approvals.
- Review the notification list so the right teammates get alerts.
- If approvals are required, confirm the approver list is correct.
Save the automation.
- Click Save or Save Automation to keep the recurring automation.
- Once saved, the automation should appear in Automations with status information.
Checks after saving:
- The automation appears in Automations and shows Active or the status you selected.
- The target profiles/groups are shown on the automation card.
- The preview matches the saved post copy and attached media.
- Notifications and approvers are listed in the automation details.
Quick test and recovery options:
- Use Run once to test a single occurrence without changing the full schedule.
- Run once should trigger a single publish or draft, depending on the publish option you chose.
- If the test fails or needs changes, click Edit to update content, timing, or recipients.
- To stop future runs straight away, click Pause from the Automations list.
Checks to avoid common setup mistakes:
- Wrong profile: confirm the target account names in the automation header.
- Missing permission: saving may warn you if publish permission isn't available. Assign permissions or choose a different profile.
- Missing media: the preview should show attached files; reopen Gallery if anything's missing.
- Incorrect recurrence: read the recurrence summary and test with Run once or a short interval before committing to a long schedule.
- Notifications disabled: make sure recipients are selected so the team sees publish confirmations or errors.
Once you've done these checks, the automation is ready. The Automations list will show the saved recurring automation with options to Pause, Run once, Edit, Duplicate, or Delete.
The automation you created should publish posts on the chosen schedule and appear in Automations with Active status, with your permissions and notification settings applied.
Troubleshooting and next steps
Quick checklist to run before troubleshooting:
- Confirm the automation shows Active in Automations.
- Check the correct target profiles or groups are listed.
- Confirm you have publish permissions for each target.
- Check that draft content and media are attached and saved.
- Note the recurrence pattern, time, and notification recipients.
If the automation didn't publish as expected
Check Active status
- Go to Automations and find your automation in the list.
- If the status is Paused or Draft, click Edit and choose Save or Activate.
- After activating, the status should show Active. If it doesn't, save again and refresh the list.
Verify target profiles and permissions
- Open the automation and review the selected profiles or groups.
- Confirm your account has publish permission for every target in those selections.
- If you're missing permission, ask a workspace admin to grant publish rights or switch the targets to ones you can publish to.
Confirm content and media are there
- Edit the automation and open the content pane.
- Make sure post copy is present and not empty.
- Check media appears in the Gallery preview. If media is missing, re-attach it from Gallery.
- To import approved assets from Drive, open Gallery, choose Google Drive import, select files, then reattach the imported files to the automation.
Check recurrence and time settings
- Open the schedule settings and confirm the recurrence type (daily, weekly, monthly) and interval match what you intended.
- Confirm the scheduled time and timezone (if shown) are correct for your audience.
- Common mistake: selecting a larger interval than intended (for example, weekly instead of daily). Adjust the interval and save.
Test with Run once
- Use Run once from the automation options to publish a single instance straight away.
- Check the target profile to confirm the post appears as expected.
- If Run once fails, repeat steps 2 to 4 and try Run once again.
Notifications and recipients
- Open the notifications section and confirm recipients are listed.
- If notifications aren't arriving, check recipients are active workspace members and aren't muted or unsubscribed.
- Remember: notification settings need to be saved with the automation.
Review permissions for publishing on behalf of others
- If the automation should publish as a team or account owner, confirm the selected publishing identity is correct.
- Edit the automation and change the publishing identity if you need to, then Save.
Edit, Duplicate, Pause, or Delete
- To stop unintended runs, Pause the automation from the Automations list.
- Use Duplicate to test variations without changing the original.
- Use Edit to fix mistakes, then Save and check the status goes back to Active.
Next steps to validate and improve
- Run a short test campaign
- Duplicate the automation, shorten the recurrence to test frequency (for example, hourly or Run once), and confirm posts publish as expected.
- Use Conversations for approvals
- Before saving a final automation, add teammates to the post preview or use workspace channels to gather approvals and feedback.
- Bring approved creative in from Drive
- If you rely on external assets, import final media from Google Drive into Gallery and reattach it so nothing goes missing.
- Monitor performance
- After posts publish, open Analytics, select the posted profiles and the date range, and review performance so you can refine your content or timing.
- Document ownership
- Add a short description or owner note in the automation so teammates know who to contact for changes or pauses.
Conclusion
If the automation is Active, targets the right profiles or groups, contains saved content and media, and you can see it in Automations with options to Run once, Pause, Duplicate, Edit, or Delete, you're all set. Use Run once to confirm a live publish, tweak the recurrence or recipients as needed, and keep an eye on results in Analytics.

 Google review
 Trustpilot review
 Product Hunt comment





