
















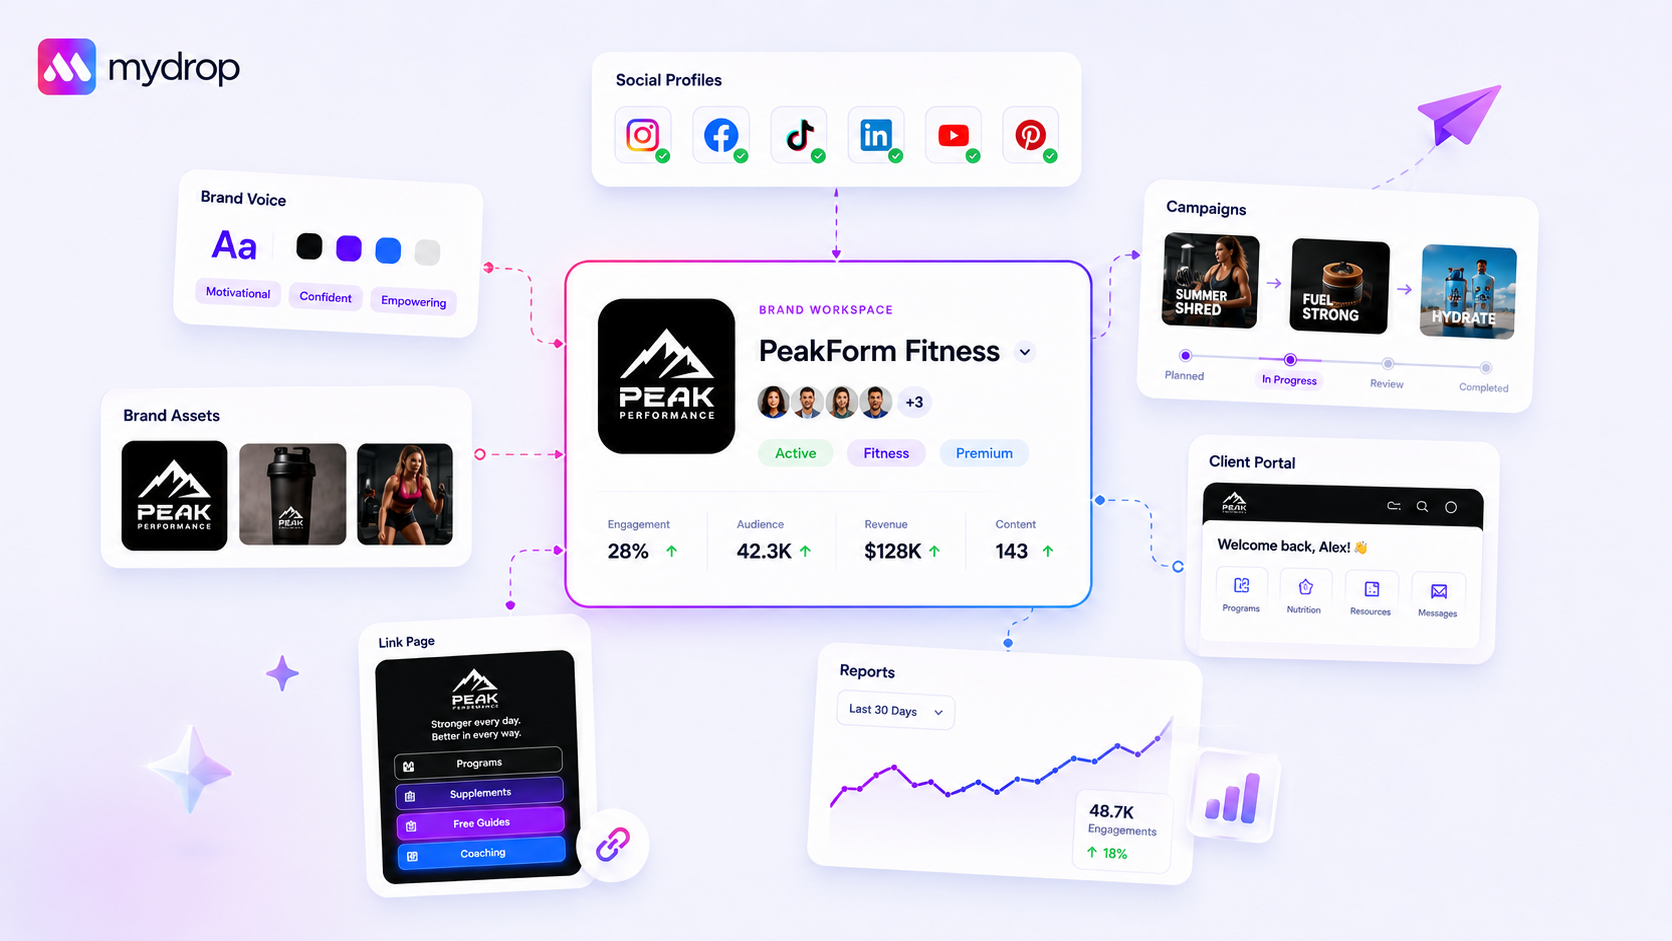
Moving a design from Canva to your scheduler by hand takes the same seven steps every time: export, wait, download, rename, find the file, upload, check the crop. You can cut that to three: connect Canva once, pick the design inside your media library, and choose the format on the way in. The file never touches your downloads folder.
TLDR: Connect Canva to your library once, import designs with the file type and orientation set for the destination, and run it as a weekly batch with a naming rule. Imports are direct, so there is nothing to download, rename or re-upload.
What the manual loop costs you
The download-upload loop is slow, but the bigger cost is mistakes. Here are the usual ones:
- The wrong version gets posted because "final_v3" and "final_v3_real" sat in the same folder.
- A vertical design goes out as a square because the export was left on the default.
- Files get compressed twice, once by Canva's export and again when the platform processes the upload.
- Nobody knows where the file came from when someone asks for the editable source later.
An import that happens inside your publishing tool removes most of these, because there is one copy and it is in the right place.
Set up the connection once
In Mydrop, the Gallery is the media library every post draws from. The Canva option sits under the Gallery's Import button. The first time, you sign in to Canva so Mydrop can show your designs inside the import screen. After that, picking a design is a search and a click.
Before you start, check two things:
- Permissions. Your role needs permission to add media to the Gallery (usually Editor or Admin). If Import is greyed out, ask the workspace admin.
- Workspace. Gallery assets belong to a workspace. Switch to the right brand workspace first, or the file lands in the wrong library.
Choose the format on the way in
When you pick a design, an export step asks for a file type, a quality level and, for video, an orientation. Setting these at import is what saves the re-export later. The full walkthrough is in our guide to customizing Canva export options.
| Design is for | File type | Orientation |
|---|---|---|
| Feed graphic with text | PNG, high quality | Square or portrait |
| Photo-led post, small file needed | JPG | As designed |
| Animated post or short video | MP4 | Vertical for Reels, TikTok, Stories; square for feed |
| Multi-page document or carousel source | As designed |
Keep quality high for anything with small text. You can always make a smaller copy later, but you cannot add detail back.
Run it as a weekly batch with a naming rule
An import tool does not fix a messy library by itself. Add two habits:
- Import in one weekly session, not whenever a designer finishes. A Monday batch for the week's posts works well, and the designer's job is to mark designs "ready" in Canva.
- Name the asset by what it is for, not by when it was made: brand, campaign, platform, date. For example, "acme-spring-sale-ig-0412". The Gallery search then does the rest.
Pair this with one rule: the library holds the final file, Canva holds the source. If a design changes, re-import it and replace the file, rather than keeping both versions.
Link the asset to the post, not to a folder
An imported file is useful when it is attached to a scheduled post. In the social media calendar you pick the asset from the Gallery when you build the post, and the same file can go through approval before it publishes. That keeps the design, the caption and the approval in one record. If your team also keeps files in Google Drive, the same idea applies; see moving assets from Google Drive without downloads.
Try one week of imports with no downloads
Pick next week's five posts. Import each design from Canva with the format set at the door, name it by the rule above, and attach it to its post in the calendar. Count how long it took compared with your usual loop. To set it up for your own workspace, start free with Mydrop and connect Canva.


 Google review
 Trustpilot review
 Product Hunt comment





