
















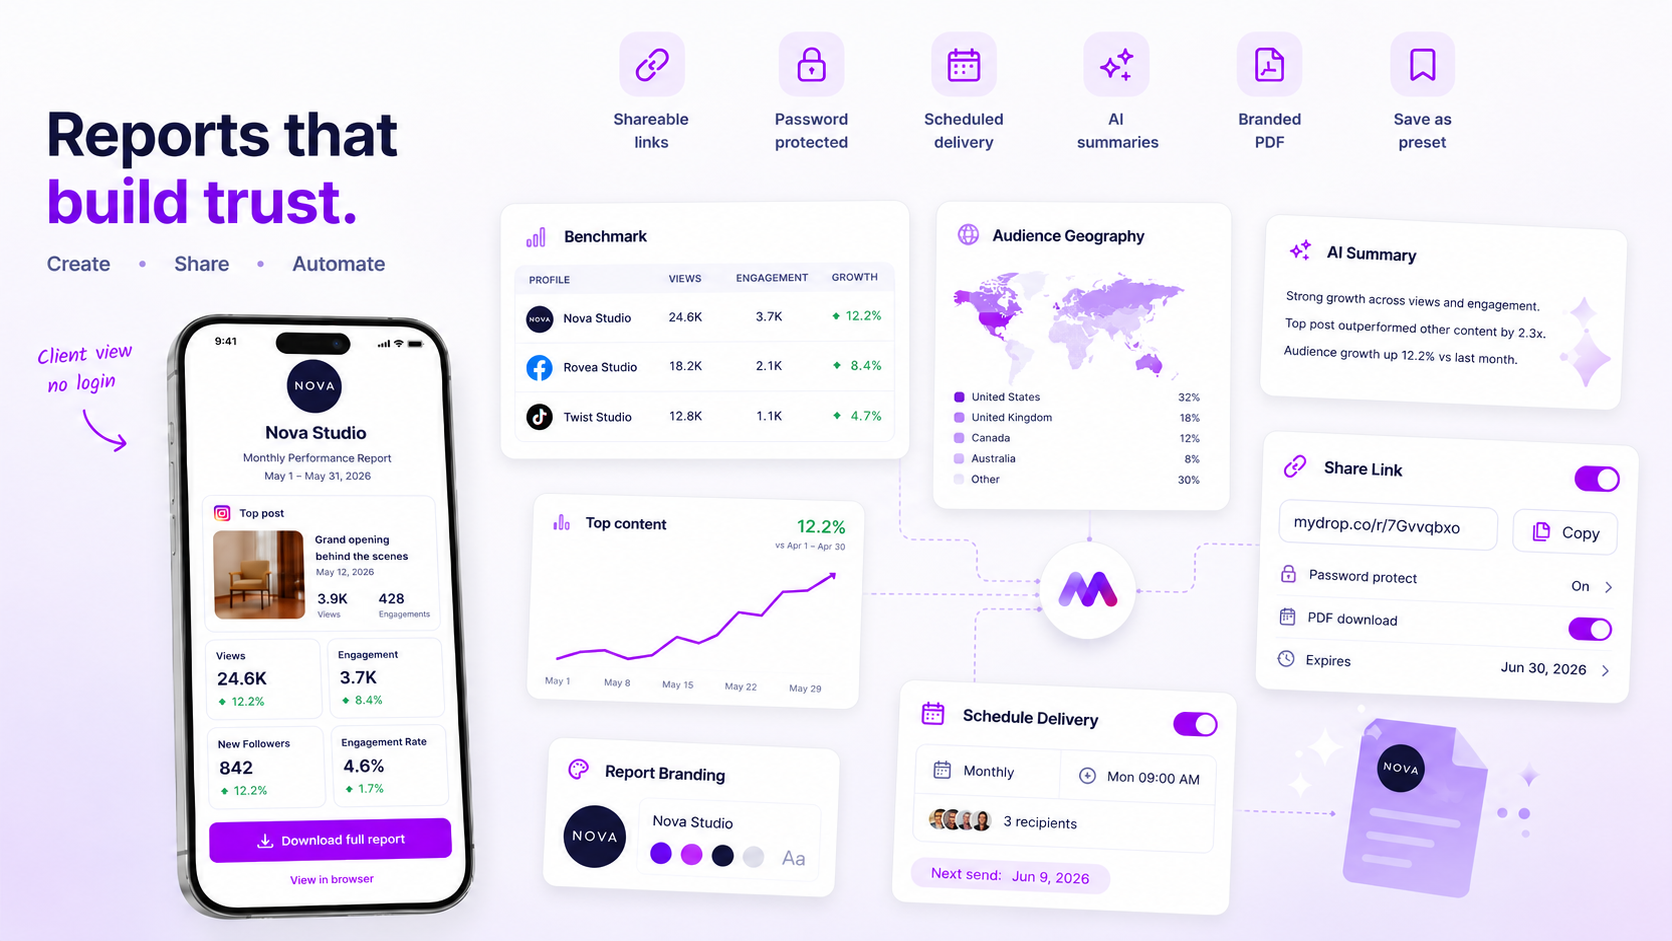
To automate branded client reports, get five things right once: the template, the branding, the date range, the schedule and how you deliver it. After that, a monthly report is a five-minute review instead of an afternoon of rebuilding.
"Personalised" doesn't mean hand-built. It means the report carries the client's logo, their goals and one honest paragraph written for them. Everything around that can run on its own.
TLDR: Build one master template, attach each client's branding to it, use a relative date range, schedule delivery, and spend your time only on the summary paragraph. Set aside an afternoon for the first template, then minutes for every report after it.
Step 1: Find the report each client actually reads
Before you build anything, ask each client one question: which three numbers do you quote back to us? Most clients care about fewer metrics than agencies report.
Write those three down for each client. They go at the top of every report. Everything else sits below the fold.
Step 2: Build one master template
Use the same skeleton for all clients, so the layout never needs a second thought:
- Summary (the paragraph you write)
- The client's three headline numbers, with change versus last period
- Top posts of the period
- Per-platform numbers
- Next month's focus (two or three bullets)
Keep it to one page of summary plus supporting pages. A report no one finishes is a report no one renews for.
Step 3: Split what is fixed from what changes
This is what makes automation feel personal. Sort every element into one of three buckets.
| Fixed for every client | Set once per client | Written by hand each month |
|---|---|---|
| Layout, section order, chart styles | Logo, colours, cover page, footer | The summary paragraph |
| Metric definitions | Their three headline metrics and goals | Next month's focus |
| Date logic (last full month) | Which profiles are included | The explanation of any bad number |
Only the right-hand column costs you time, and it is the column worth your time.
Step 4: Use relative dates and schedule it
Set the date range to "last full month" rather than typing in dates. Otherwise someone has to edit it every month, and one forgotten edit means a client gets last month's data twice.
Then schedule delivery for a fixed day, such as the second working day of the month, so clients learn when to expect it. A predictable report builds more trust than a clever one.
Step 5: Review for five minutes before it goes out
Automation drafts. A human sends. In your five minutes:
- Read the summary and fix anything the draft got wrong.
- Check the headline numbers against the platform for one profile.
- Add one sentence only you would know, such as "this dip is the planned pause during the product relaunch."
For context in that summary, our September 2026 data helps: the median Instagram post in Mydrop earned a 3.1% engagement rate, and the middle half ran between 1.1% and 6.7%. A client seeing 2% is not behind; that framing prevents a lot of worried emails.
Save the template once, send white-label reports on a schedule
Mydrop's reports are built around this flow. You save the template, apply a client's branding, and export a white-label PDF or share a link the client opens without a login. Delivery can be scheduled, and an AI summary drafts the narrative from the posts and metrics you picked, so step 5 starts from a draft.
If clients also approve content, the client portal keeps reports and approvals in the same no-login place, which means one link to remember instead of three.
What to check after the first automated month
- Did every report go out on the scheduled day?
- Did the client open it, and did they reply with questions? Questions mean a missing metric.
- Did you need to fix the layout? If yes, fix the template, not the one report.
For the principle behind this, see our guide on when to automate reports instead of exporting manually.
Next step: pick one client, build the master template this week, and let it run for one month. Start free with Mydrop to try the template, branding and scheduled delivery on a real account.
 Google review
 Trustpilot review
 Product Hunt comment





