












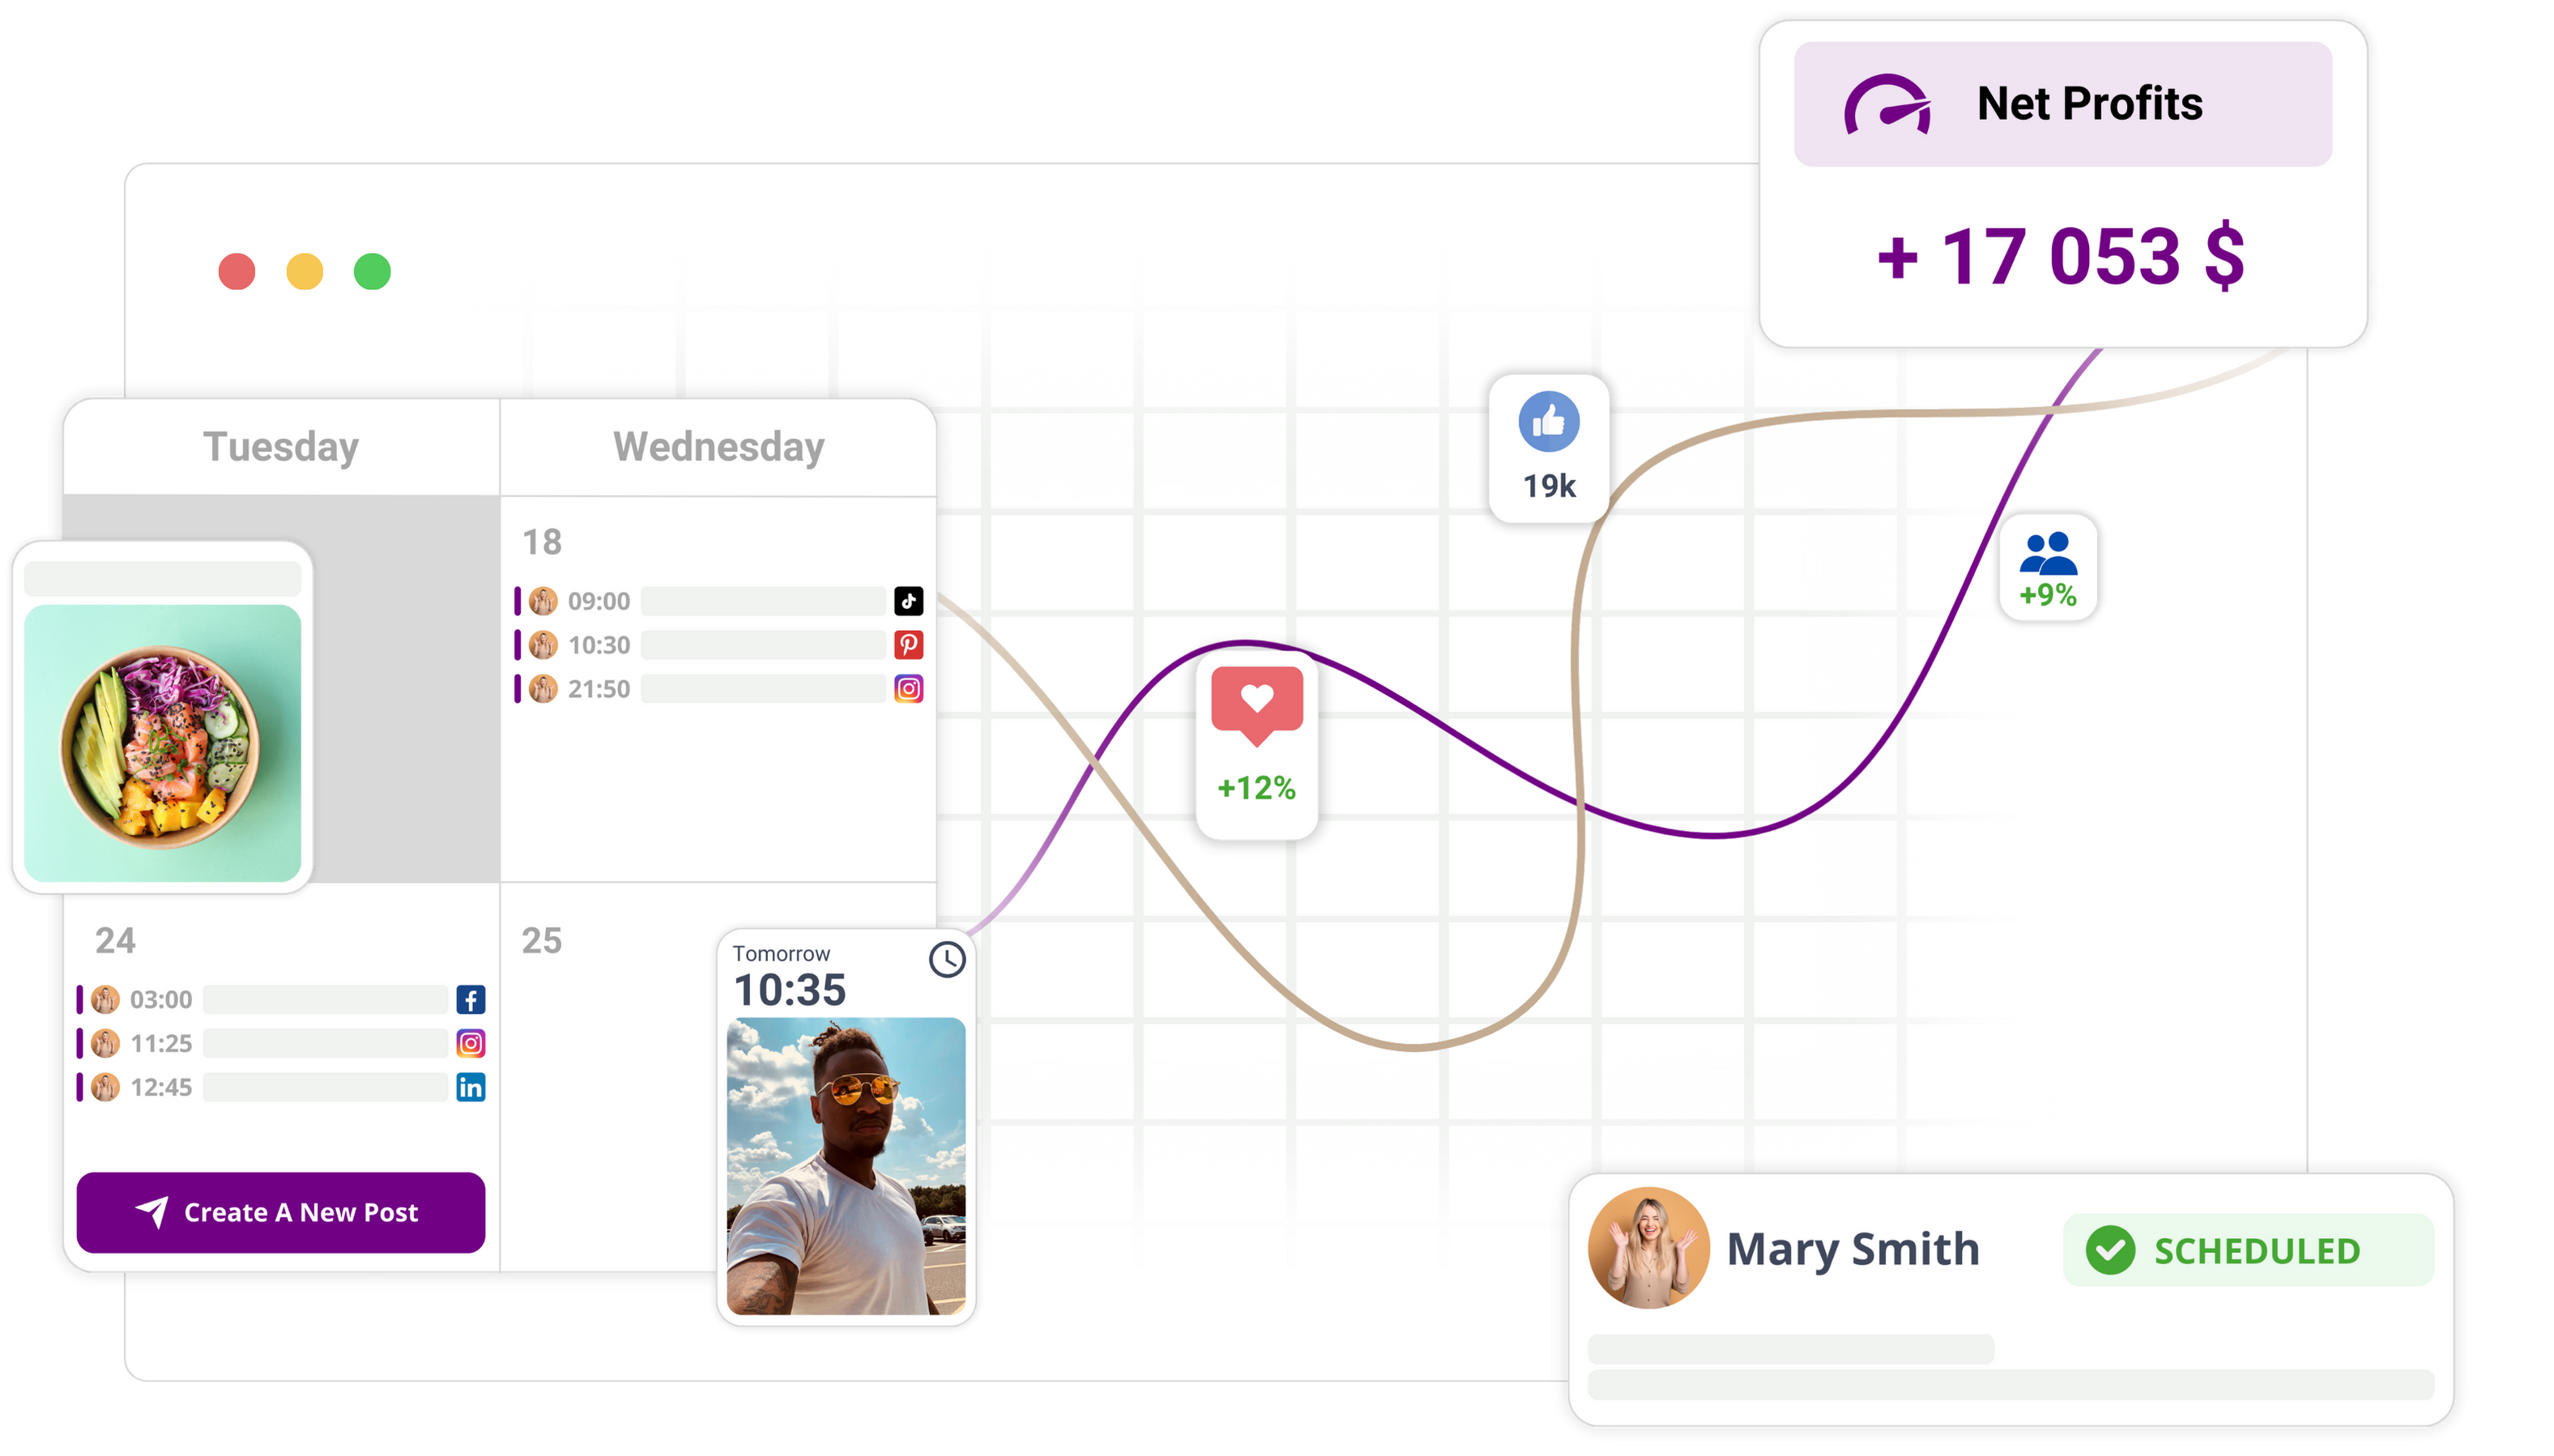
Connecting your social media profiles to Mydrop brings your brand management together in one place, automates your publishing workflows and gives you a clear view of how you've performed in the past. By the end of this process, your accounts will be live in Mydrop and your historical engagement data will be ready to review in the analytics dashboard. This setup is the foundation for everything else Mydrop can do, from automations and calendar reminders to workspace collaboration.
Mydrop data, 30 days to 16 September 2026: what happened to scheduled posts when their time came, across posts published through Mydrop.
| Outcome | Share of posts |
|---|---|
| Live, no issue | 89.9% |
| Live, with a warning | 8.5% |
| Failed | 1.5% |
| Stuck in the queue | 0% |
That is 98.5% live at the first attempt. The most common warning was a YouTube custom thumbnail skipped because the channel was not phone-verified; the most common failure was an expired platform connection. Both can be fixed before the post is due, which is what a pre-publish check is for.
Before you start
- Make sure you have working login details for every social media account you plan to connect.
- Check that your account has "Admin" or "Editor" permissions on the social platforms. Mydrop needs these access levels to pull historical performance data.
- Confirm that your Mydrop subscription is active and that you can access the workspace where you want to manage these profiles.
- Close any browser tabs you don't need, so nothing interrupts the authentication handshake between the social platform and Mydrop.
Linking your social accounts
- Log in to your Mydrop account and go to the sidebar on the left of the dashboard.
- Click the "Profiles" tab to open the profile management screen.
- Find and click the "Add New Profile" button. A menu will pop up showing the social media platforms you can connect.
- Pick the platform you want to connect, such as Instagram, LinkedIn or X.
- Follow the authentication prompts in the pop-up window. When asked, log in to your social media account and authorise Mydrop to access your profile information.
- Stay on the page until the authentication window closes on its own. Closing it too early can make the connection fail, and you'll have to start again.
Synchronising historical data
- Once the account is authorised, you'll see a configuration menu for the new profile.
- Choose the brand or group in Mydrop where you want this profile to live. Putting profiles into specific groups keeps your workspace tidy as you grow.
- Find the "Import Historical Data" setting on the configuration screen. Make sure this toggle is switched to "On". If you leave it off, Mydrop will only start tracking new activity from the moment you connect.
- Click "Save" or "Confirm" to finish adding the profile.
Reviewing your setup
- Go back to the "Profiles" dashboard. Your newly linked account should be listed with a status indicator confirming the connection is active.
- Head to the "Analytics" tab in your Mydrop dashboard.
- Check the charts and reporting modules to confirm that historical engagement data, such as past post reach, impressions and interaction counts, is filling in correctly. Syncing can take a few minutes depending on how much history there is.
Troubleshooting and common mistakes
- Data sync failures are most often caused by permissions that aren't high enough. If your data doesn't show up, go back to your social media account settings, check you have full admin or editor access, and run the connection process in Mydrop again.
- Make sure you're connecting the account to the right workspace. If you've accidentally added a profile to a personal workspace instead of a client-specific one, delete the profile entry and repeat the steps in the workspace you meant to use.
- Once your setup is verified, head to the "Automations" tab. You can now pick your newly synced profile as a destination for your publishing workflows, so you can start automating your content strategy straight away.
Step 1: Open the feature
To start linking your social media accounts and importing your historical data, go to the Profiles section of the Mydrop dashboard. This is the central hub for all your connected social identities. Managing your connections here keeps your posts, analytics and automation workflows in sync with the right accounts.
- Sign in to your Mydrop account with your credentials.
- Find the main navigation sidebar on the left of the dashboard.
- Click the menu item labelled Profiles. This loads your current workspace dashboard.
- If it's your first time on the platform, you'll see an empty workspace. If you already have active profiles, the dashboard will show a list of your existing connections.
- Click the button labelled Add New Profile. It's usually at the top right of the Profiles dashboard area. Clicking it kicks off the connection workflow.
Going straight to the Profiles section matters because it keeps your social media management separate from other Mydrop features like Automations or Calendar. Starting here means the permissions you grant in the next steps apply to the whole brand or group you want to manage. If you try to connect profiles from a different part of the app, you may find that some data import options or group assignment settings aren't available. Keep the Profiles dashboard open in your browser until the connection is fully confirmed, as the page will refresh automatically once authorisation is complete.
Step 2: Set up the basics
Once you've clicked Add New Profile, a selection menu appears so you can choose the social media platform you want to connect to Mydrop. This is where you build the bridge between your external social account and your Mydrop workspace.
- In the platform selection window, browse the available icons and click the name of the social network you want to sync, such as Instagram, LinkedIn or Twitter.
- After you pick the platform, a browser pop-up window opens. This window is hosted by the social media service to handle secure authentication.
- If you're not already logged into the social network in your browser, enter your social media login details when the pop-up asks.
- Review the permissions being requested. Mydrop needs specific access to read your account data, post content and historical engagement metrics.
- Click the Authorise or Allow button in the pop-up window to confirm that you're happy for Mydrop to access your account information.
The authentication pop-up is a security feature. It means Mydrop never stores your social media password. Instead, it uses a secure token to work with your account. Don't close the pop-up window until it sends you back to the main Mydrop dashboard. If you close it early, the connection will be interrupted and the authorisation won't take effect.
Once the pop-up closes, you'll be back in the Mydrop interface. You'll now see an initial setup form. This form asks you to map the newly connected profile to a specific brand or project group in your Mydrop workspace. Pick an existing brand from the dropdown menu, or create a new group if you're managing a separate project. Assigning the profile to a group now keeps your future analytics organised by brand, which is essential for teams managing multiple clients or market segments. Once you've made your choice, click the Save or Continue button at the bottom of the configuration form to move on to the final data synchronisation settings. You'll know this step worked when the profile icon appears in your main Profiles list with a green active status indicator.
Step 3: Add the content or settings
Once the authentication pop-up closes and you're back in the Mydrop interface, you need to set up the profile settings to finish the connection. The system will ask you to categorise the newly linked account, which keeps your social identities organised within your wider brand management setup.
Follow these configuration steps:
Find the Profile Assignment menu in the setup window. You'll see a dropdown list of your existing brand groups or workspace folders. Choose the brand or group where this profile should live. If it's a new brand, select the Create New Group option to set up a new container. Sorting profiles into groups right now is essential for keeping your automations and analytics reports in good shape down the line.
Find the Historical Data Import section. You'll see a toggle switch labelled Import Historical Data. Click it to the On position. This setting matters because it tells Mydrop to request performance metrics and previous post data from the social platform API. If you leave it off, Mydrop will only start recording data from the moment the connection is finalised, leaving a gap in your historical reporting.
Confirm your choice by clicking the Save Configuration button at the bottom right of the window. Mydrop will then start the sync process. Don't navigate away from this page while the progress bar is running, as closing the browser tab or refreshing the page can interrupt the initial data handshake.
Set team permissions if you're working in a shared workspace. Go to the Permissions tab in the profile settings panel to make sure your teammates have the access levels they need to view analytics or draft posts for this account. Setting these now prevents access errors when other team members try to use the account later.
These configuration settings are the foundation of your social management. By grouping the account correctly and switching on the data import, you make sure your analytics dashboard fills up with the right metrics. Forgetting to switch on the data import at this stage is a common oversight, and you'll have to disconnect and reconnect the profile to fix it later. Double-check that your brand group selection matches the workspace you intended, so your publishing schedules don't end up misaligned.
Step 4: Review the workflow
Once the configuration is saved, check that the profile is correctly linked and that historical data syncing has started as expected. A successful connection will show up in several places across your Mydrop dashboard.
Run these checks to confirm the setup:
Go back to the main Profiles dashboard in the left-hand navigation sidebar. The newly added account should now appear in the list under its assigned brand or group name. Check that the account status indicator is green, which means the connection is active and authenticated. If the indicator is yellow or red, the connection is either incomplete or has hit a permissions error.
Go to the Analytics tab. You should see the social platform's icon in your active profile list. Click the profile to load the dashboard. At first you may see a "Data Syncing" notice; give it a few minutes to finish importing. Once the sync is done, the dashboard will show your historical engagement metrics, such as reach, clicks and interaction rates from previous months.
Test the connection by opening the Automations section. Click the New Automation button and try creating a draft post or a simple sequence. When you're asked to select a profile, your newly synced social account should appear in the menu. Being able to select it confirms that your authorisation has carried through the Mydrop application properly.
Check your calendar notifications. If you have calendar reminders set up, make sure the newly connected profile is available to select when you create a new reminder. That way you can start scheduling future tasks tied to this specific identity straight away, such as content reviews or community reply sessions.
If the Analytics tab is still empty after a reasonable wait, or if you hit connection errors, go back to the profile settings. Check that the historical data toggle is still On. Make sure your social platform account settings still allow third-party apps like Mydrop. A common mistake is the platform revoking Mydrop's access after a password reset or a security policy update on the social media side. If errors persist, use the Refresh Token option in the profile settings menu to force a fresh sign-in with the social platform. Once these steps check out, your profile is fully integrated and ready for daily work.
Troubleshooting and next steps
If you run into problems during syncing, start by checking the connection status in the Profiles tab. A red warning icon next to a profile usually means the authorisation token has expired or the platform permissions you need are missing. To fix it, click the profile to open its settings and choose the option to re-authorise the account. This brings up the authentication pop-up again so you can refresh the connection. Make sure you're logged into the correct admin or editor account on the social platform while you do this.
If your historical data still isn't showing in the Analytics tab after several hours, check that the Import Historical Data setting is switched on in the profile configuration menu. Large data sets can sometimes take longer to process, especially for accounts with a lot of past content. If the data is still missing after 24 hours, you may need to disconnect and reconnect the profile to restart the data retrieval. Bear in mind that most social platforms limit access to historical data if the Mydrop app doesn't have the right level of admin access. Always check that you've granted full API permissions during the initial authorisation.
If your reports are still empty, check whether you've accidentally assigned the profile to the wrong brand or workspace. You can move profiles between brands in the Profile Settings menu by picking a different brand from the dropdown list. Re-categorising this way makes sure all your historical metrics are grouped correctly under the right brand reporting view.
Once your profile is active and your data is visible, you can start working it into your daily routine. Head to the Automations tab to start building custom workflows for this profile. You can pick the newly synced account as a trigger source or as a destination for automated publishing. It's also worth setting up calendar reminders for regular analytics reviews, so you stay on top of your performance metrics. If you work in a team, use the Conversations tool on your specific posts to talk through content strategy or asset feedback with your colleagues directly. By bringing your social activity and collaboration together in Mydrop, you keep a clear view of your past performance and your upcoming publishing commitments across every brand you manage.
Conclusion
Syncing your social accounts and historical data creates a vital link between your past performance metrics and your future brand management in Mydrop. By following these steps, you make sure your profiles are correctly authorised, your data is imported accurately, and your accounts are ready to slot into wider publishing and analytics workflows. This setup lets you use Mydrop for consistent brand oversight, automated content distribution and collaborative team communication. Looking after these connections regularly, including periodic re-authorisation and status checks, helps keep your data flowing and your automated processes reliable. You now have one central place to monitor engagement, manage publishing schedules and sharpen your social strategy using real historical insights. From here, use the profiles you've linked to explore more automation features and coordinate your team's work across your workspaces.



 Google review
 Trustpilot review
 Product Hunt comment