
















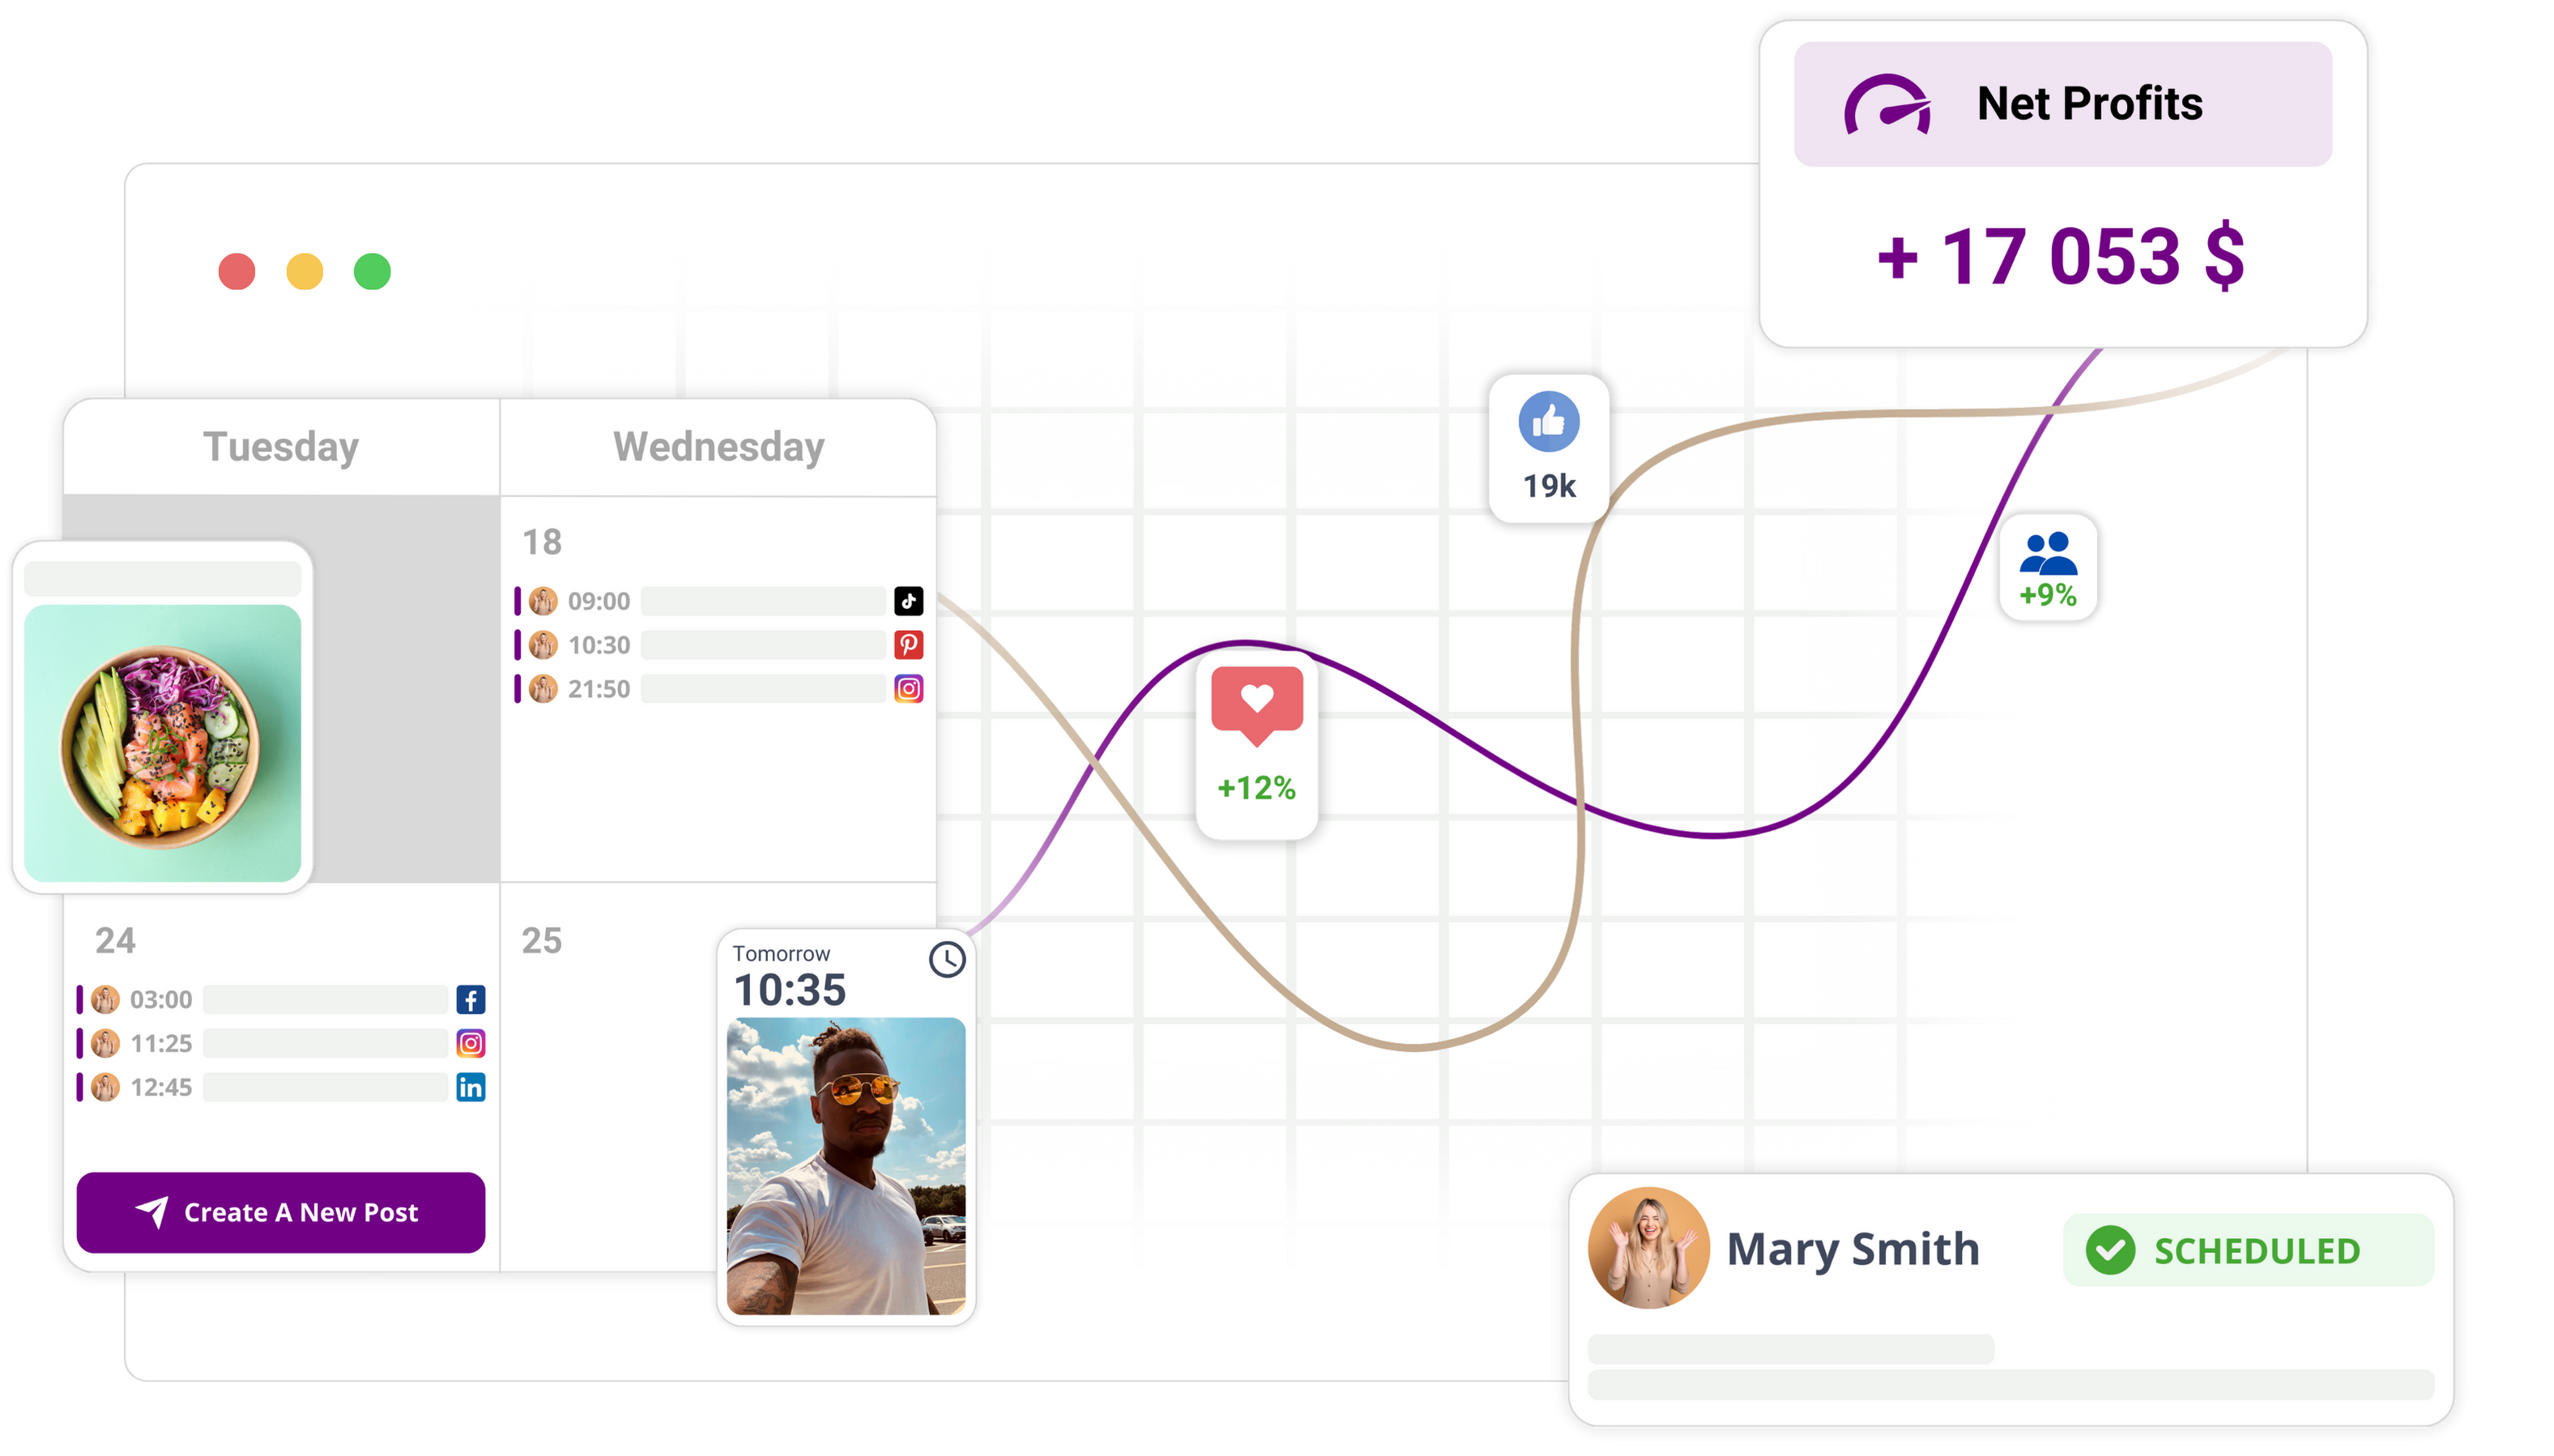
Follow the steps in this guide and you'll schedule a social media post to go live at a specific time using the Mydrop calendar. Your content then reaches the profiles you've chosen without anyone having to press publish on the day.
Mydrop data, September 2026: how posting frequency lines up with engagement, across accounts connected to Mydrop with at least 8 posts in the rolling 180 days.
| Posts per week | Median engagement rate |
|---|---|
| Under 1 | 7.03% |
| 1 to 3 | 3.08% |
| 3 to 7 | 1.46% |
| 7 or more | 0.68% |
This is a correlation between accounts, not a cause: smaller accounts post less and carry higher rates, so cutting your own output will not raise your number. What it does show is that a beginner publishing once or twice a week is not behind.
Mydrop data, September 2026: in the 30 days to 16 September 2026, 98.5% of posts published through Mydrop went live at the first attempt. The most common warning was a YouTube custom thumbnail rejected because the channel was not phone-verified; the most common hard failure was an expired platform connection. Method in the Mydrop social media benchmarks.
Before you start
Before you set up your schedule in the calendar, tick off these checks so nothing interrupts you while you're writing:
- Check that your target social profiles are active and synced. Go to the Profiles section and select Connect profile to confirm the status of your accounts.
- Get all your media files ready in advance. Make sure images, videos or documents meet the specific technical requirements for the social platforms you plan to use.
- Have your captions, hashtags and any required links ready in draft form.
- If you're using Canva assets, make sure they're ready to import through the Gallery service integration.
Once these checks are done, Mydrop has the permissions and assets it needs to process your scheduled post successfully.
Step 1: Open the calendar interface
To start planning your content, log in to your Mydrop dashboard. Find the main navigation menu, which is usually on the left-hand side of your screen. Click the Calendar tab. This opens the visual calendar view, showing your current publishing schedule across all connected profiles. This is your main hub for organising and reviewing your upcoming social media activity.
Step 2: Start a new post
Once you're in the Calendar view, find the New post button. It usually sits prominently at the top of the calendar interface. Clicking it opens the multi-platform post composer. This window is your main tool for setting up your post details, choosing the specific social media channels and defining the content that will go out to your audience.
Step 3: Configure profile selection and content
In the composer window, find the profile selection area. Use the dropdown menu to select one or more social profiles where you want the post to appear. Once you've picked your platforms, move to the content entry area to add your captions. You can also upload media files straight from your computer or import design assets from your connected Canva gallery.
During this step, deal with platform-specific requirements. If your post needs a custom thumbnail, a first comment or specific post types such as a Reel or a Story, set these options in the settings panel of the composer. Taking the time to adjust these settings means your post is formatted correctly for each individual social network, which prevents errors during the automated validation process.
Step 4: Set the schedule and validate
When your content is ready, find the date and time selection fields. Choose the exact day and time you want the post to go live. Once the timing is set, click the Schedule button. Mydrop then runs a final automated validation. This check tests your post against the technical constraints of the selected social platforms.
If all requirements are met, the post goes onto your calendar. If any validation warnings appear, such as issues with caption length, media dimensions or account permissions, Mydrop will prompt you to fix them before the scheduling process can be finalised. This final check is critical for making sure your content sticks to platform rules and will publish as intended when the time comes.
Troubleshooting and next steps
Once your post is scheduled, go back to the main calendar view to check that the post icon appears on the selected date. You can click on the post at any time to review or edit its details. If you spot a red alert or warning icon on a scheduled entry, hover your cursor over the indicator to see the specific issue.
After your content is published, use the Analytics section of the app. Go to Analytics and select Posts to review metrics such as reach, engagement rate and total views. Keeping an eye on these results helps you work out how effective your timing and content strategies are, so you can make data-driven adjustments for future scheduling sessions.
Common mistakes to prevent
Users often run into issues when they overlook the validation warnings the composer gives them. Always deal with any notifications about media file sizes or caption character limits, as these are common causes of publishing failures. Also, make sure you're selecting the correct post type for each platform. For example, scheduling a standard image post when the social network requires a video format will cause the validation to fail. Finally, don't close the composer window before the final scheduling confirmation appears. Always wait until the post is visible on your calendar view before assuming the setup is complete. By following these steps and double-checking your platform-specific settings, you can keep your publishing workflow consistent and error-free.
Step 1: Open the feature
To start scheduling your social media content, go straight to the main calendar workspace. This is the central hub for all your planned posts, letting you see your publishing schedule across all connected social channels.
- Find the main navigation menu, which is usually on the left-hand side of your Mydrop dashboard.
- Click the "Calendar" tab. This loads the interactive calendar view, showing your current publishing schedule, drafts and past posts.
- If this is your first time in this area, wait a moment for the calendar to fill in with your existing scheduled items and profile data.
- Once the interface has fully loaded, check that the calendar view is set to the right timeframe, such as "Week" or "Month", so you can see enough of the days you plan to schedule your new posts on.
- Make sure you're viewing the calendar for the specific date you want to target. You can move between weeks or months using the arrow controls in the header of the calendar interface.
- The calendar is built to give you instant feedback on your posting frequency, so confirming the layout and current date range helps prevent scheduling conflicts or accidentally booking two posts on the same channel at the same time.
By starting inside the Calendar tab, you make sure every action you take is recorded against your official publishing timeline. This is more reliable than trying to start posts from individual profile pages, because it keeps your whole social media presence in one coherent view.
Step 2: Set up the basics
Once you're in the calendar view, you need to open the post composer to start defining the content for your social media channels. The composer is where you set the technical parameters that govern how and where your content will appear on social platforms.
- Find the "New post" button, which sits prominently near the top of the calendar interface. Clicking it opens the post composition window straight away, over the top of the main calendar.
- In the profile selection menu at the top of the composition window, click the dropdown list to see all your connected social profiles.
- Select each profile you want to include in this specific campaign. Mydrop lets you choose several profiles at once, so you can send the same core content to different channels, such as LinkedIn, Instagram and X, all at the same time.
- As you select each profile, notice that the configuration options in the window may update as you go. This is a critical step because Mydrop adjusts the available fields based on the unique requirements of the platforms you pick.
- For example, selecting Instagram might enable fields for adding a location tag or a first comment, while selecting LinkedIn might ask you for specific professional post settings.
- Confirm that all the required profiles are highlighted. If you select a profile by mistake, just click it again in the dropdown menu to remove it from the current selection.
- Once you've identified your target channels, check that the "Post type" setting matches what you have in mind. Depending on the media you plan to upload, you may need to specify whether the post is a standard image, a carousel, a video or another format supported by the selected platforms.
- This step lays the foundation for your post. By picking your platforms and post types accurately early on, you make sure the next configuration steps, such as caption entry and media uploads, are tailored correctly to the technical standards of your chosen social networks. If you get these initial selections wrong, you may hit validation errors later when the system tries to process the post against specific platform constraints.
Step 3: Add the content or settings
With your profiles selected, you now need to fill the post with your content and define the specific settings each social network requires. The composer interface gives you fields for text, media and platform-specific configurations.
- Enter your caption text in the main content area. If you're posting to several networks at once, check the platform-specific tabs. Some networks have different character limits or tagging requirements. You can customise the caption for each individual platform so your message fits correctly within the constraints of X, LinkedIn or Instagram.
- Add your visual assets by clicking the media upload button. You can pick files straight from your computer or import design assets from your connected Canva gallery. If you're uploading video content, make sure the file format and duration meet the specific requirements of the chosen platform, such as TikTok or YouTube.
- Set up your thumbnails for video posts. If you're scheduling a post for a platform that supports custom thumbnails, select the frame or upload a standalone image file to represent the video.
- Add a first comment if the platform allows it. This is standard practice on Instagram to keep your caption clean while providing hashtags or extra information. Enter your text in the designated first comment field.
- Select the post type if required. Some networks distinguish between different post formats, such as standard image posts, carousels or short-form videos. Make sure the correct type is selected so Mydrop applies the right publishing rules.
- Check that all mandatory fields are filled in. If you see an orange or red indicator on a specific platform tab, that platform needs more information, such as a specific tag or a corrected file size, before it can be scheduled.
Reviewing these settings is critical because social media networks reject posts that don't meet their technical requirements. By configuring these details in the composer, you make sure your content is ready to go out the moment the scheduled time arrives. If you try to schedule a post with incomplete settings, the system will highlight the problem fields and ask you to fix them before you can move on to the final scheduling stage.
Step 4: Review the workflow
Once your content is configured, you need to finalise the date and time and trigger the system validation to confirm your post is ready for publication.
- Find the date and time selection tool at the bottom of the composer window. Click the calendar icon to open the date picker.
- Select your desired publication date from the interactive calendar view. Make sure you pick the correct month and day to avoid scheduling errors.
- Set the exact time for the post to go live. Mydrop uses your local time settings, so check the time zone is correct if you're managing global campaigns.
- Once the date and time are set, click the "Schedule" button. This kicks off an automated validation sequence.
- Wait for the validation to finish. During this time, Mydrop checks your post against platform-specific constraints, such as caption length, media resolution and profile compatibility.
- Watch the calendar interface for confirmation. A successfully scheduled post will appear on your calendar dashboard with a status icon showing it is queued for publication. If the validation finds an issue, the composer will stay open and show an error message detailing which platform requirements were not met.
Checking the status icon on your calendar confirms the post is registered in the system. If you don't see the post on the calendar view after clicking "Schedule", check the composer again to make sure the process completed successfully. After the post is published, you can head to the Analytics section under the Posts tab to review metrics such as reach, engagement and click-through rates. This helps you work out whether your scheduled content is performing the way you want. Checking the calendar regularly helps you spot any gaps in your publishing cadence and makes sure all scheduled items are active and correctly linked to your connected social profiles. Following these steps consistently will let you keep a reliable, efficient social media workflow.
Troubleshooting and next steps
If you run into issues while scheduling, Mydrop gives you instant feedback to guide you through fixing them. Review these common scenarios to keep your workflow running smoothly:
- Validation failure: If the "Schedule" button looks inactive, check for warning messages in the composer. Mydrop validates each field against platform requirements. Make sure your caption doesn't go over the allowed character limit for the selected network, and check that your media file meets the minimum resolution constraints for the platform.
- Profile sync errors: If your connected social profile doesn't appear in the dropdown menu, go to the Profiles tab. Select your account and click the refresh icon to re-sync the latest token and connection status. An outdated connection often causes the calendar to ignore specific profiles during the initial selection phase.
- Media upload interruptions: Large video files or high-resolution images may occasionally fail to upload because of network fluctuations. If an upload stalls, clear the attachment and re-upload the file straight from your local drive or your connected Canva gallery.
- Time zone discrepancies: Always check the time zone setting in your calendar view. If posts appear at an unexpected hour, make sure your account settings match your actual location to avoid publishing too early or too late.
Once you've confirmed your post on the calendar, keep an eye on how it performs over time. When the scheduled time passes and the post is live, head to the Analytics section. Under the Posts tab, you can track metrics such as reach, engagement rate and total comments for each channel. Use this data to compare how different content types and times of day perform, which will shape your future scheduling strategy. If you notice specific platforms consistently underperforming, adjust your posting schedule or content format accordingly in the same calendar interface. Making analytics review a routine part of your workflow keeps your planning decisions grounded in evidence.
Common mistakes to prevent
Scheduling social media content successfully comes down to attention to detail. Avoid these common pitfalls to keep your publishing cadence consistent:
- Selecting the wrong platform-specific post type: Many platforms distinguish between static images, carousel posts and video content. Make sure the post type you select in the composer matches the technical requirements and format of your attached media.
- Overlooking validation warnings: The composer runs an automated check on every post before scheduling. Ignoring red exclamation marks or warning text usually leads to a scheduling failure or an incomplete post delivery to the social network. Always deal with these notifications before you finalise the process.
- Assuming a post is active without checking the calendar: After you click the final button, always wait for the post tile to appear on your calendar grid. If the tile doesn't appear, the process didn't complete, and the content stays in a draft state rather than an active schedule.
- Neglecting profile selection: It's easy to select one profile and forget the others that are part of a multi-platform campaign. Double-check the profile list in the composer header to make sure your content will go out to all intended channels at the same time.
Conclusion
Scheduling social media reminders in Mydrop streamlines your content distribution by bringing all your publishing tasks together in one place. By following these steps to connect your profiles, set up your post settings in the composer and lean on the built-in validation checks, you make sure your campaigns launch exactly as planned. Regular monitoring through the analytics dashboard lets you refine your approach based on real engagement metrics rather than guesswork. This systematic workflow cuts the manual effort needed to manage multiple channels, so you can focus on content quality and strategic growth. With your calendar fully populated and validated, your social media presence is ready to reach your audience effectively, with no need for constant, last-minute manual intervention.


 Google review
 Trustpilot review
 Product Hunt comment





