
















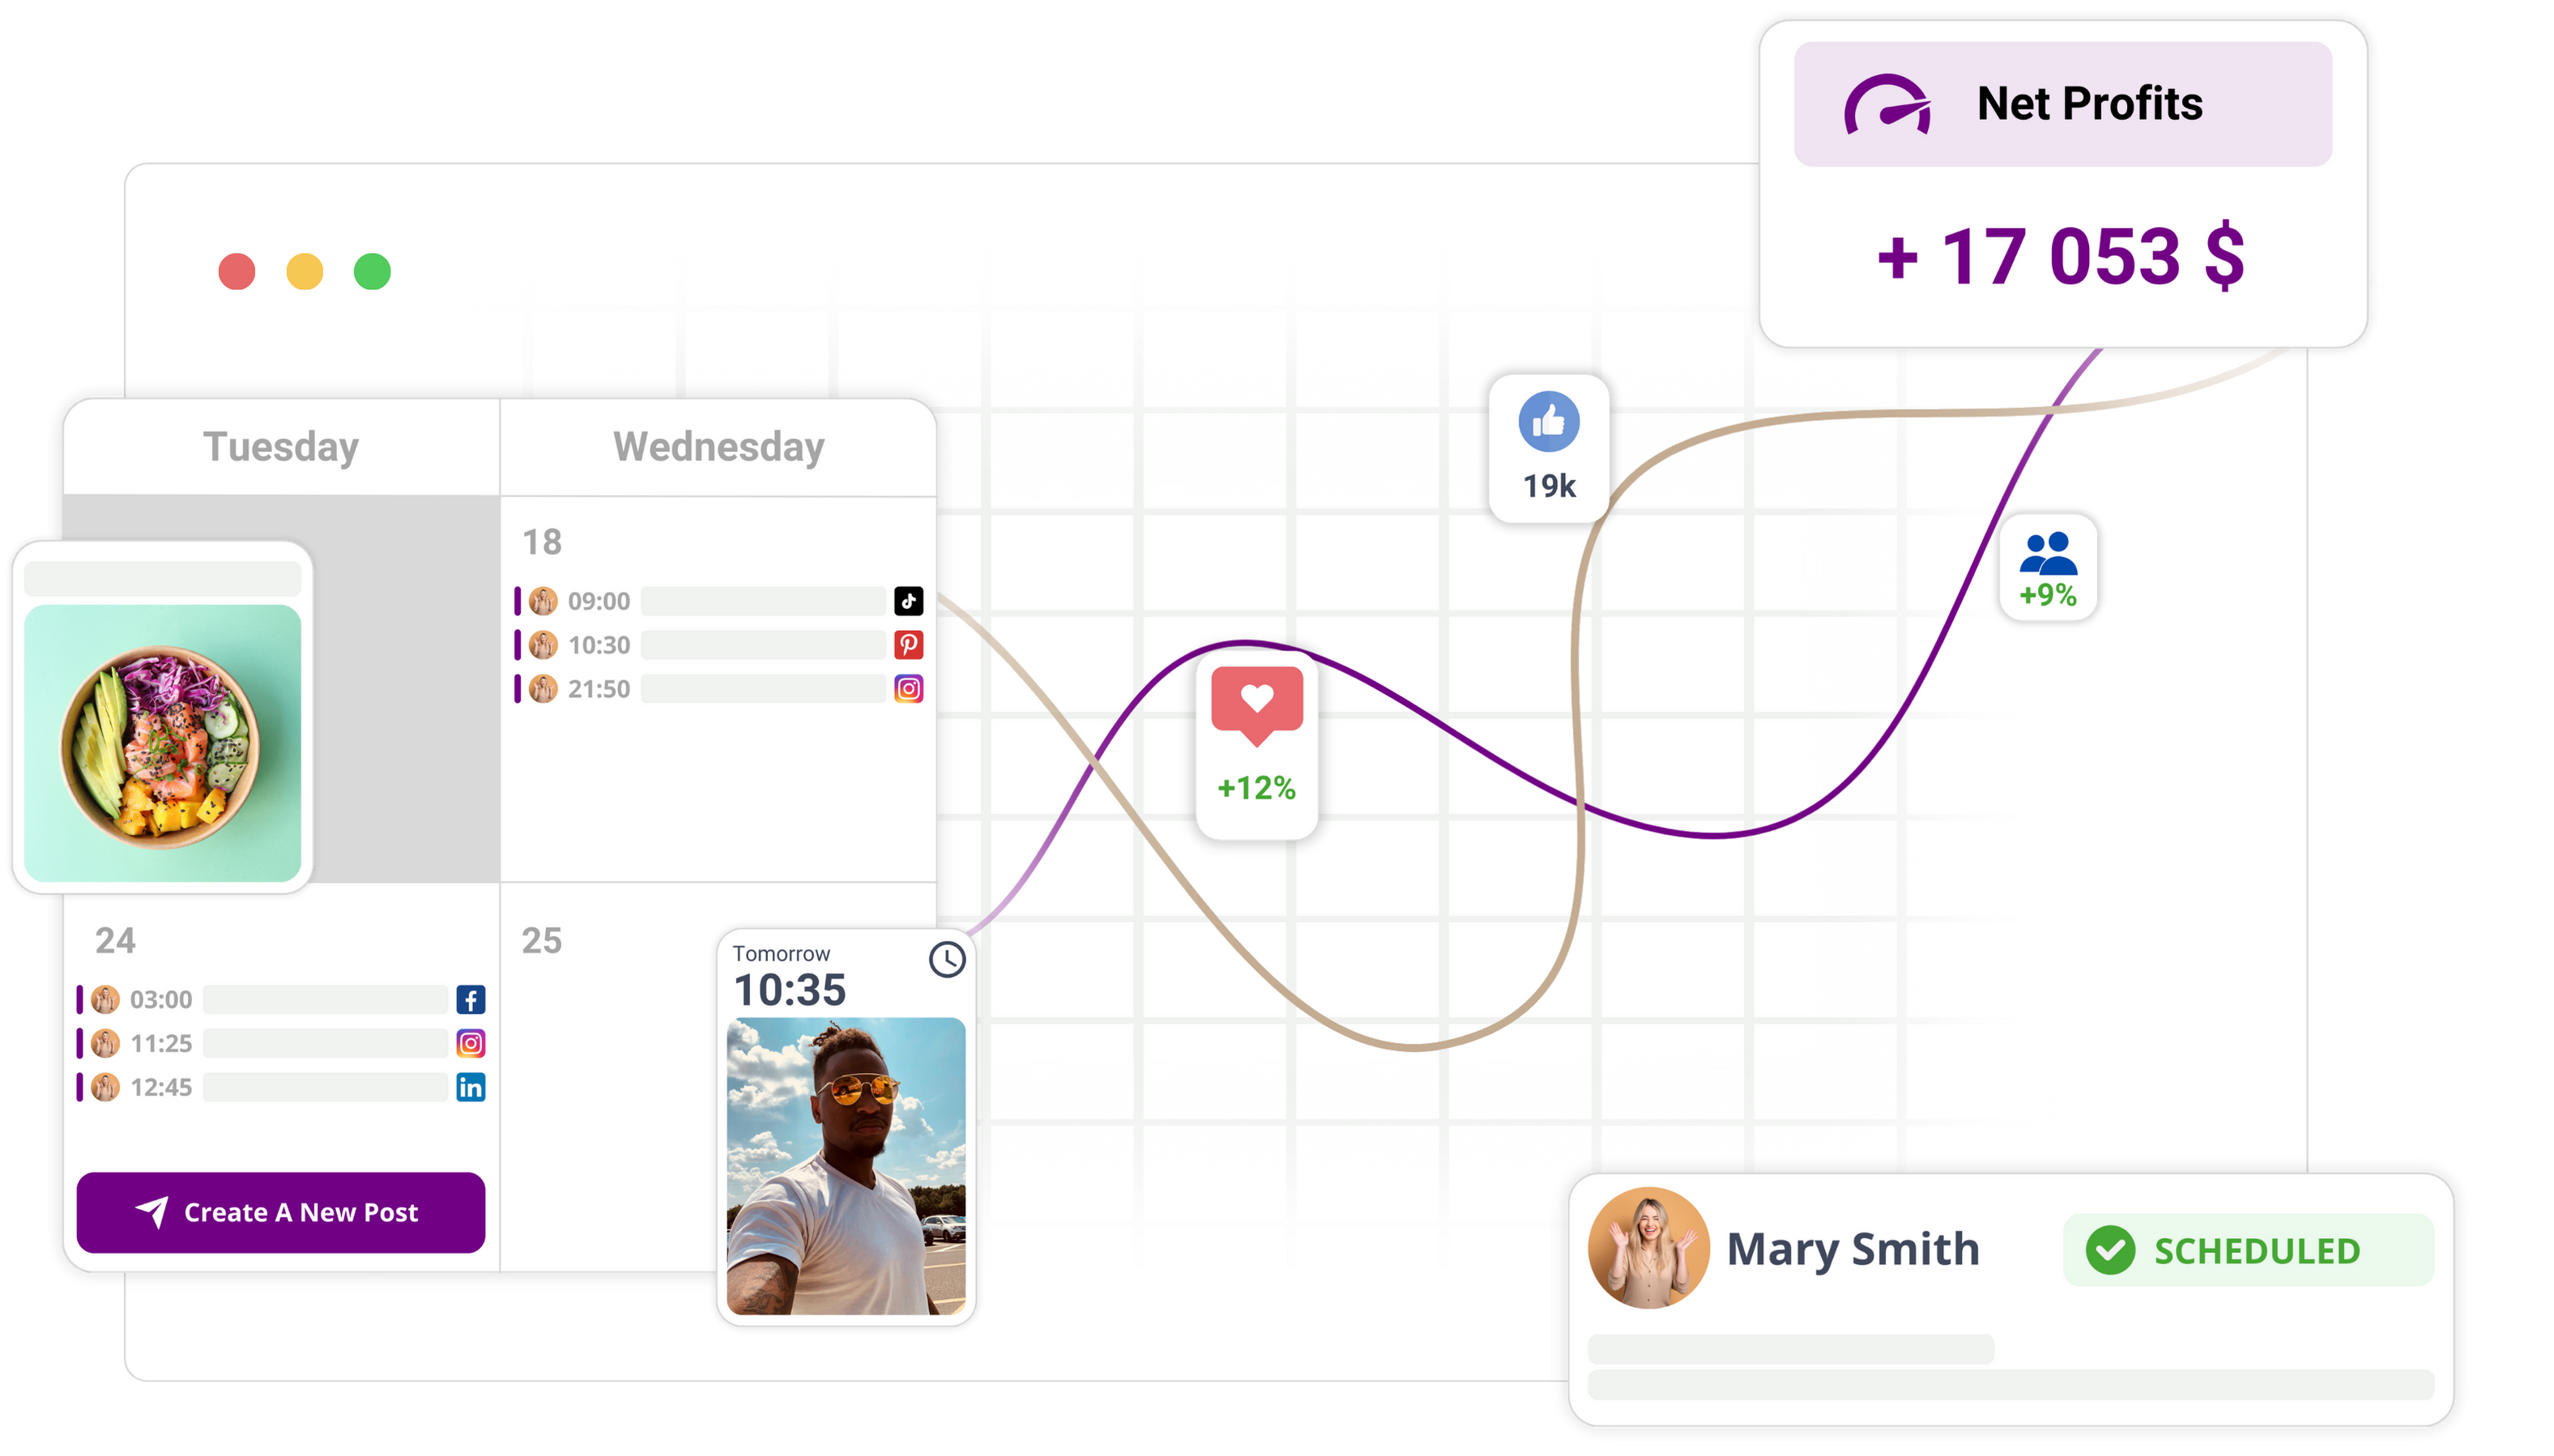
Follow these steps and you'll connect your Google Drive to Mydrop, then import creative assets straight into your gallery, ready for your publishing workflows. No more downloading files to your device and uploading them again to your social media planning tools. You'll manage your approved creative right there in the Mydrop workspace.
Mydrop data, September 2026: which format actually earns more, across accounts connected to Mydrop, which manages 55,000+ posts, rolling 180 days. Each index is measured against that account's own median, so 1.00 is an average post for that account.
| Format | Engagement index |
|---|---|
| Carousel | 1.10 |
| Text post | 1.04 |
| Photo | 1.00 |
| Video | 0.99 |
The spread between the best and worst format is 11 per cent, which is narrower than most idea lists imply. Pick the format you can sustain every week rather than the one a trend piece recommends.
Before you start
Before you start the connection process, check you have the following ready:
- A Google account with active access to the folders where your social media assets live.
- Valid login details for that Google account.
- Enough storage space in your Mydrop account for the new media files.
- Confirmation that your browser allows pop-up windows, as the Google authorisation prompts need them.
Make sure the files you plan to import are in a format Mydrop supports, such as standard image or video files. If you're using a shared Google Drive, confirm your account has at least view-level permissions for the relevant folders.
Connecting your account
The first stage of this workflow is authorising the link between Mydrop and your cloud storage. You only need to do this setup once.
- Log in to your Mydrop account.
- Go to the Gallery section in the main navigation menu.
- Find and select the Google Drive import option.
- Click the button to start the connection.
- Follow the browser prompts to log in to your Google account if you're not already signed in.
- Review the requested permissions. You must grant Mydrop access to your files for the import feature to work.
- Click the Allow button to confirm the connection.
Once the connection is set up, you'll be taken back to the Mydrop Gallery. A confirmation message will appear to show your account is successfully linked.
Importing your media assets
With the connection active, you can now browse and transfer files. You can open the import tool straight from the gallery, or whenever you're picking media for a new post.
- Open the Google Drive import interface within the Gallery.
- A file picker window will appear, showing your Google Drive directory structure.
- Use the navigation tool to find the specific folder holding your assets.
- Select the files you want to import. You can select several files at once.
- Click the Import or Select button to start the transfer.
- Wait for the progress indicator to finish.
When the transfer finishes, the selected files will be copied into your Mydrop gallery. They'll now appear in your workspace, ready to attach to your posts.
Verifying the import
To make sure the setup worked as intended, run these checks:
- Go to your Mydrop gallery view.
- Look for the newly imported assets in the list or grid.
- Try selecting one of the files to confirm the preview displays correctly.
- Open the post composer, select the Add Media option, and confirm your imported assets appear as available choices.
If files don't appear, check the permissions on your Google Drive folder. If folder access was restricted, Mydrop may not be able to list the contents. Refresh the page and reopen the import tool to try the connection again. Imported assets are ready to use straight away in all publishing workflows, including calendar posts and campaign drafts.
Step 1: Open the feature
To start syncing your creative assets, you first need to open the dedicated integration menu in your Mydrop workspace. This menu is the bridge between your cloud storage and your social publishing tools.
- Sign in to your Mydrop account and make sure you're working in the right workspace. If you manage several brands or clients, use the workspace switcher to pick the specific environment where you want to store these assets.
- Find the navigation sidebar on the left of the screen.
- Click the Gallery menu item to expand its options.
- Select the Google Drive import option from the list.
Once you click this option, you'll see a landing area that sums up the integration. This screen is there to confirm your account status. If you haven't linked your account yet, this page will show the button you need to start the authorisation process. It's worth getting to know this spot, because it's also where you'll manage your existing connection settings or disconnect your Google account later on if your security requirements change.
Step 2: Set up the basics
Connecting your Google Drive to Mydrop takes a one-time authorisation so the platform can access your media folders. This step sets up the secure link between your cloud files and the Mydrop gallery interface.
- On the Google Drive import screen, click the button labelled Connect Google Drive.
- A separate browser window or pop-up will appear from Google. This is the official authentication portal. Enter your Google account details if prompted.
- Review the requested permissions. Mydrop needs these specifically to browse your file structure and retrieve the media assets you choose to import.
- Click Allow to confirm you're granting Mydrop access to your Google Drive contents.
- After you click allow, the authentication window will close automatically and you'll be taken back to the Mydrop interface.
- Look for a success indicator or a message confirming your account is now connected. The page should refresh to show your linked account email address, confirming the link is active.
Use a Google account that has direct ownership or edit access to the folders holding your media. If you connect a personal account but your assets live in a shared team drive or a folder owned by a colleague, make sure you've specifically requested access to those shared folders in Google Drive before you start this setup. Without the right folder-level permissions, the file picker may look empty even after you've successfully authorised the connection.
Once authorisation is done, you're ready for the next phase: selecting your files. If you hit an error during the authorisation step, check your browser settings to make sure pop-ups are allowed for the Mydrop domain, as blocked windows often stop the Google authentication prompt from showing properly. Check your connection is active before you carry on, as the import function will only show your files if the communication between the two platforms is fully set up. Remember, this is a one-time setup task: once connected, you won't need to repeat these authorisation steps in future sessions unless you decide to remove the connection or rotate your credentials for security.
Step 3: Add the content or settings
With your Google Drive account now linked to your Mydrop workspace, you're ready to bring your media into the gallery. This integration lets you browse your cloud storage and pick specific files without saving them to your computer first. You can open the file selector straight from within your media-related tasks.
To add your files to Mydrop, follow these instructions:
- Go to the Gallery section of your Mydrop dashboard.
- Select the option to add new media and choose the Google Drive source from the available upload methods.
- A file picker window will appear. This window shows the folder structure of the Google Drive account you connected.
- Navigate through your folders to find the images or videos you want to publish.
- Click the files you want to import. You can select several items at once to speed up your organisation.
- Confirm your selection by clicking the import button. Mydrop will start pulling these files into your gallery.
While the import runs, avoid closing your browser tab. Depending on file sizes and your internet speed, the transfer may take a few moments. You'll see a progress indicator showing the assets are being moved into your library. If you try to select files from a folder where you don't have read access, the file picker may not show those items or might throw up an error. Always make sure the folders holding your creative work are set to allow access for the account linked to your Mydrop workspace.
Step 4: Review the workflow
Once you've finished the import, check your files are ready to use in your publishing workflows. Confirming your assets are accessible in the gallery means you can attach them to your social media posts without further delay.
Follow these verification steps:
- Return to your main Mydrop gallery view.
- Filter your library to view recently uploaded items if your collection is large.
- Find the files you just imported from Google Drive.
- Open the post composer by going to Calendar and selecting New post.
- Open the media attachment option in the composer and check your imported files appear as selectable options.
To confirm the setup worked, try attaching one of the imported images to a draft post. If the image attaches correctly and shows a preview in the composer, your connection is fully working.
If your imported files don't appear in the gallery:
- Refresh your browser page to reload the gallery state.
- Check you're currently signed into the correct Mydrop workspace, as media is kept separate by workspace to keep brand assets organised.
- Check you didn't accidentally close the browser during the final transfer steps.
Follow this workflow and you keep your publishing process efficient and in one place. No more managing manual downloads to your local machine, which helps prevent file version mix-ups and keeps your workspace tidy. Your assets are now part of the Mydrop gallery and can be reused across different brands, profiles and post types as your social media strategy needs. This setup is a one-time configuration: as long as your account authorisation stays active, you can pull new assets from your linked Google Drive folders whenever you're preparing new content for your calendar.
Troubleshooting and next steps
If you run into issues during the Google Drive import process, most problems come down to account permissions or connectivity. These troubleshooting steps will help sort out common access errors:
Check folder sharing permissions: If you can't find specific files in the Google Drive picker, confirm the files are stored in a folder your connected Google account has read access to. If the files are in a shared folder, check the folder has been added to your drive or that you have enough permissions to view its contents.
Reauthorise the connection: If the import window fails to load or shows a connection error, go back to the Gallery section and disconnect your Google Drive account. Sign out of your current session, sign back in, and start the connection process again. This refresh often clears temporary authentication glitches.
Check file types: Make sure the media files you're importing are supported formats for social media publishing. Mydrop accepts most standard image and video files, but check your files aren't corrupted or in an unsupported format that could stop them rendering in the Mydrop gallery.
Clear browser cache: If the interface seems unresponsive after you select a file, try clearing your browser cache or opening your workspace in an incognito window. This can fix issues where outdated browser data interferes with the file transfer request.
Confirm network stability: Importing large media files needs a stable internet connection. If the import times out, check your network isn't being throttled and that you have enough bandwidth to finish the upload to your gallery.
Once your assets are successfully imported, you can get on with using them in your daily work. Your next steps should focus on organising these files within the Mydrop gallery so they're easy to find:
Tag your imported media: Use descriptive tags in the gallery to sort your assets by brand, campaign or media type. This lets you filter your library quickly when you're in the post composer.
Link assets to profiles: Associate specific folders or categories of media with the relevant social profiles in your account. This streamlines picking content during post creation, as you'll see your most relevant assets first.
Integrate with the post composer: With your media synced, open the Calendar and start creating a new post. When you click to add media, select the Google Drive source to view your recently imported files. You can now attach these assets straight to your post drafts without ever downloading them to your local computer.
Conclusion
Syncing your Google Drive with Mydrop transforms how you manage your content pipeline by cutting out the manual steps of downloading, sorting and re-uploading creative files. Follow the connection process and keep the right permissions in your drive, and your approved brand assets will always be within reach in your workspace.
This workflow shortens the gap between creating a file and publishing it, so you can focus on scheduling and community engagement. Use the gallery management tools to keep your imported assets organised, and make the most of the direct integration in the post composer to keep a consistent publishing schedule across all your social profiles. Looking after your connected accounts regularly keeps your media library a reliable foundation for your social strategy, supporting faster and more accurate campaign launches.


 Google review
 Trustpilot review
 Product Hunt comment





