
















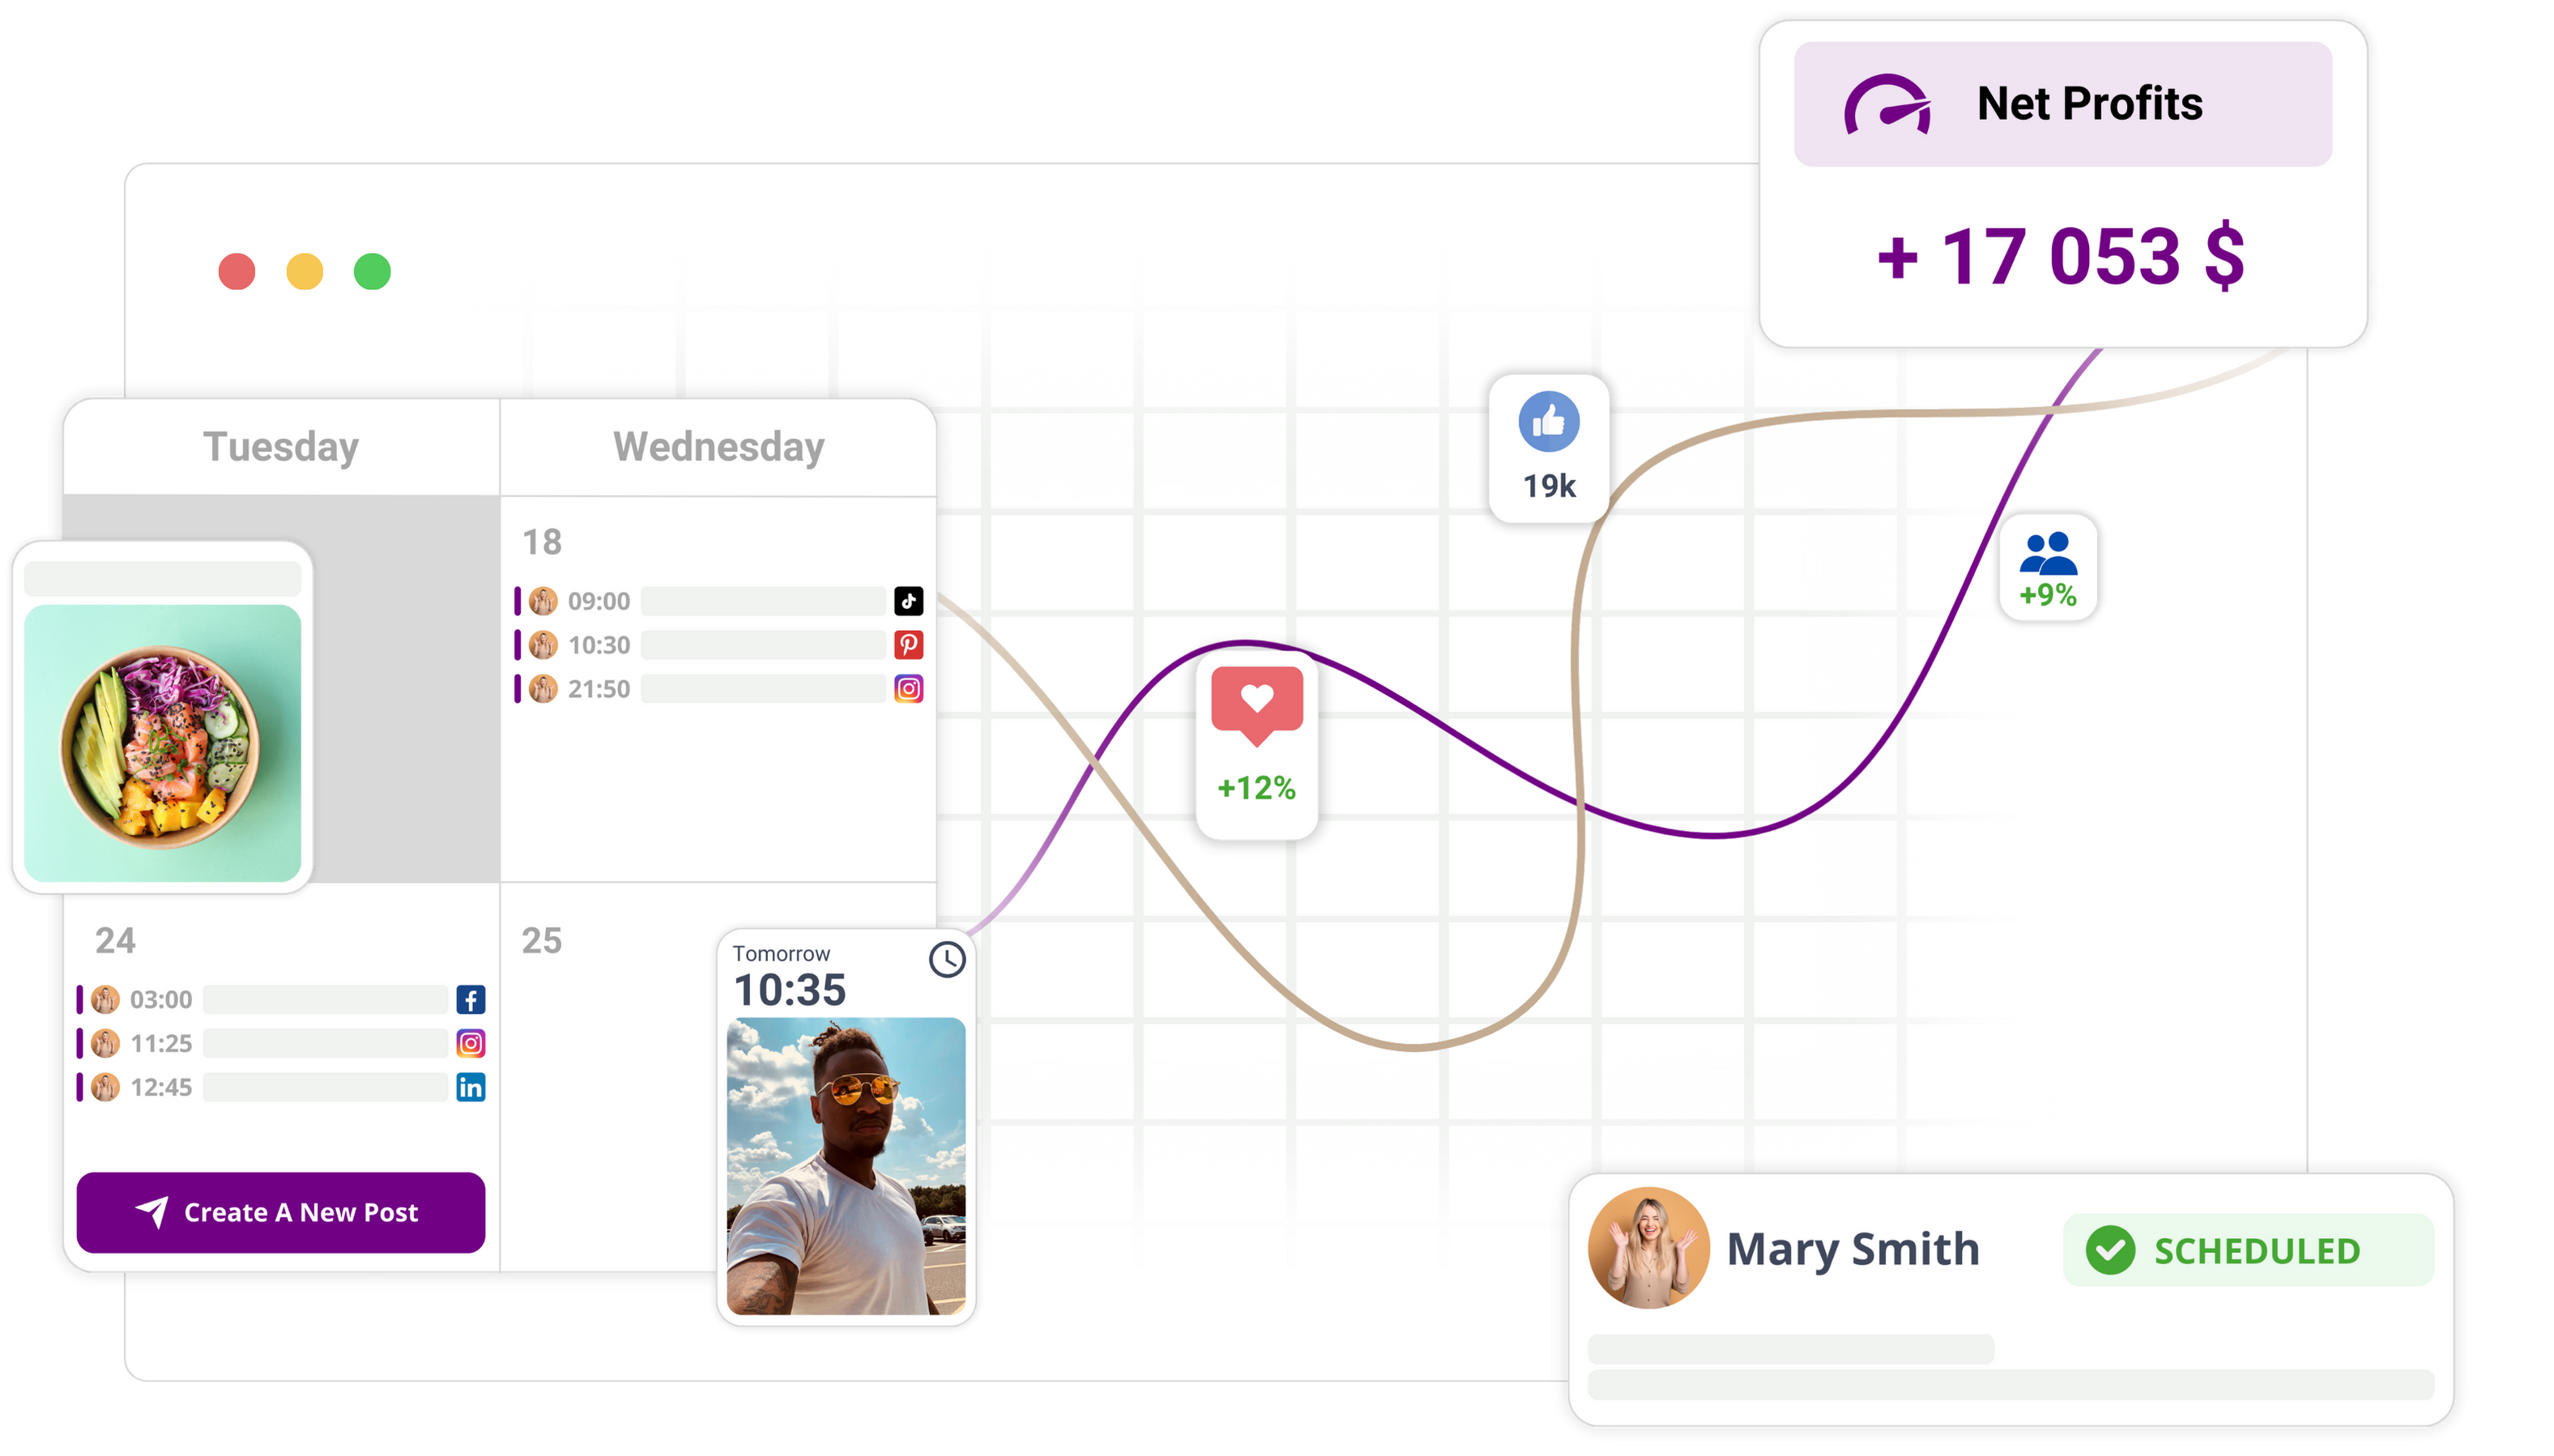
By the end of this tutorial you'll have created a visible, themed calendar note that shows up in Home and next to a scheduled calendar post, with an editable, timestamped entry your team can review and update.
Mydrop data, September 2026: how posting frequency lines up with engagement, across accounts connected to Mydrop with at least 8 posts in the rolling 180 days.
| Posts per week | Median engagement rate |
|---|---|
| Under 1 | 7.03% |
| 1 to 3 | 3.08% |
| 3 to 7 | 1.46% |
| 7 or more | 0.68% |
This is a correlation between accounts, not a cause: smaller accounts post less and carry higher rates, so cutting your own output will not raise your number. What it does show is that a beginner publishing once or twice a week is not behind.
Before you start
- Check you're signed into your Mydrop account and have the team access you need to view Calendar and Home notes.
- Open Calendar from the main navigation, then open Home > Notes, so you can compare where the note appears in both places.
- Have one scheduled post on the calendar ready to attach a planning note to.
Open the feature
From the main navigation, click Calendar to open the Calendar view.
Find the calendar day or slot that holds your scheduled post.
Alternatively, open Home and choose Notes to create or review notes from the Home screen.
Look for an Add note action, either in the Notes panel or attached to the calendar item, and click Add note to start.
Set up the basics
In the new note dialog, choose a theme or label. Themes help the rest of the team recognise the purpose at a glance (for example: Campaign idea, Revision, Asset needed).
Enter a short title for the note. Keep titles concise so they show up clearly next to calendar entries.
Check the timestamp is visible. The interface shows when the note was created or last updated, so confirm a timestamp appears before you save.
Add the content or settings
Click into the main note editor and type your campaign idea, checklist, or operational context.
Use short bullets or numbered items for clear action points.
If the note should reference a specific scheduled post, confirm it's placed next to that post before saving (the note UI will show where it's placed or attached).
Click Save or Done to keep the note. Saving attaches it so it appears in both Calendar and Home.
Review the workflow
Go back to the Calendar view and check the scheduled post. The themed note should be visible next to the post entry, with the title and theme colour or label.
Open Home > Notes and find the same note in the list or panel. The content should match and be editable from Home.
Click Edit on the note from either Calendar or Home to confirm it opens for changes, and that edits update the timestamp when saved.
Verification checks
- The note is visible next to the scheduled post in Calendar, with the theme and title you chose.
- The same note appears in Home > Notes with identical content and a timestamp.
- Editing the note from Calendar or Home updates the content and refreshes the visible timestamp.
Common mistakes to avoid
- Not saving the note. If you don't click Save or Done, the note won't attach or appear in Home.
- Expecting notes to attach automatically without placing them next to a specific calendar entry. Pick the calendar slot explicitly, or use the Add note action on the post.
- Forgetting to check Home after creating a calendar note. Confirm it's visible in both views before you assume the setup is done.
Troubleshooting and next steps
- To change a theme or update content, open the note, choose Edit, then save again. The timestamp will update.
- To remove a note, open it and choose Delete or Remove.
- If a note doesn't appear in Calendar or Home, refresh the views and check your team access permissions.
- Use notes alongside Templates and Profiles when drafting campaign ideas, so the planning context stays next to the publishing workflow.
Conclusion Creating calendar notes keeps campaign ideas and operational context right next to scheduled posts. Follow the steps above to add a themed, timestamped, editable note, and confirm it appears in both Calendar and Home for your team.
The note you create here will appear in Home and beside the calendar entry, with a theme, timestamp, and editable content for the team to refer to.
Step 1: Open the feature
From the main navigation, click Calendar to open the Calendar view.
- You should see the month or week grid with your scheduled posts.
- Look along the right side or near each calendar item for a Notes panel or an Add note action.
Alternatively, click Home in the main navigation to open Home notes.
- Home shows recent activity and a compact notes area.
- This view shows notes that are visible across the account, so confirm the notes area is there before you carry on.
To add a note from Calendar: click the calendar entry where you want the planning context.
- A post detail pane or quick actions should appear.
- Choose the Add note action in that pane. If several quick actions show, pick the one labelled Notes or Add note.
To add a note from Home: open the Notes area and choose Add note.
- The Add note action in Home creates a note that's visible on Home and can be placed next to calendar items.
- If a prompt asks where to place the note, select the option that links it to Calendar or to a specific scheduled post.
After clicking Add note, check that an editable note editor appears.
- The editor should include fields for theme/label, a short title, a timestamp, and a content area.
- If the editor doesn't appear, try the Add note action again, or refresh the view and reopen the calendar entry.
Quick checklist before moving on:
- Calendar or Home is open.
- A calendar entry is selected (for notes attached to the calendar).
- The Add note action brings up the note editor.
Step 2: Set up the basics
Choose a theme or label for the note.
- In the note editor, select a theme, label, or colour chip that matches the campaign or topic.
- Choosing a theme helps the note stand out in the Calendar and Home views.
Add a short, descriptive title.
- Click the Title field and type 3 to 8 words that sum up the idea, for example "June Promo Caption Ideas" or "Product launch checklist".
- The title is what teammates will scan for context next to the scheduled post.
Check the timestamp is there and correct.
- Look for the date and time shown with the note.
- If the note is attached to a specific calendar entry, confirm the timestamp lines up with that post date.
- For notes created from Home, confirm the timestamp reflects when the note was created, or the scheduled post date if you linked it.
Optionally, choose placement or association.
- If prompted, choose whether the note should appear only on Home or also alongside a specific calendar entry.
- To keep the planning context next to the work, select the option that places the note next to the scheduled post.
Add a short summary line in the content area.
- Enter a one-sentence campaign idea or checklist header.
- Use the next lines for bullet items, checklist steps, or a brief context paragraph.
Save the note to attach it to Calendar and Home.
- Click Save, Done, or Add (whichever appears in the editor).
- After saving, the editor should close or show a confirmation message.
Confirm what you should see after saving.
- In Calendar view, the note should appear next to the scheduled post. The note title and theme should be visible.
- In Home view, the note should be listed in the Notes area with the same title, theme, and timestamp.
- The note content must be editable: click the note in either view to reopen the editor and make changes.
Short checklist to confirm setup:
- Theme selected and visible.
- Title entered and concise.
- Timestamp present and correct.
- Note saved and visible in both Calendar and Home.
- Note opens for editing from both views.
Why these steps matter: choosing a theme and title makes the note easy to find on the calendar and in Home. Checking the timestamp and placement means teammates see the planning context next to the scheduled post, not just in a separate list.
You'll add editable campaign ideas or checklists to a calendar note, save it, and attach it so the note appears with a theme and timestamp both in Home and next to the scheduled post.
Step 3: Add the content or settings
Open the note editor.
- Click the note you created in Calendar, or use Add note in Home.
- The editor area should expand to show the title, theme, timestamp, and a larger content field.
Enter the main content.
- Click into the content field and type the campaign idea, checklist, or operational context.
- Keep entries short and actionable. Use bullet points or numbered steps for checklists.
Add the contextual details teams need.
- Add the publishing context, such as campaign name, post variant, or brief instructions.
- Include any deadlines or dependencies so teammates know if action is needed.
Apply or change the theme if needed.
- Open the theme or label dropdown and choose a colour or label that matches your campaign.
- The theme is a visual cue that helps teammates scan notes quickly.
Check the timestamp and title.
- Confirm the timestamp shows when the note was created or last edited.
- If the title is empty or generic, add a short descriptive title so the note is easy to find.
Save the note.
- Click Save, Done, or whichever save action is visible in the editor.
- Wait for the UI confirmation (tick, toast, or brief message) that the note saved successfully.
Quick checklist before leaving the editor:
- Title is descriptive and short.
- Theme or label is selected.
- Content includes at least one actionable item or context sentence.
- Timestamp reflects creation or a recent update.
- Save confirmation appears.
Warnings to avoid mistakes:
- Don't close the editor or navigate away without clicking save. Unsaved text isn't attached.
- Don't assume the note attaches to a post automatically. Use the explicit attach or place option if there is one, before saving.
Step 4: Review the workflow
Confirm the note appears beside the scheduled post in Calendar.
- Go back to the Calendar view and find the scheduled post you meant to annotate.
- Look for the note icon, label, or visible note snippet beside the calendar entry.
- Click the note from the calendar entry to open it, and confirm the content, theme, and timestamp match what you saved.
Check it's visible in Home notes.
- Open Home and find the Notes panel or the Home > Notes list.
- Check the same note is listed with the same title, theme, and timestamp.
- Open the note from Home and make sure the content is editable.
Confirm editability and timestamp updates.
- Make a small change to the note content, then save.
- Check that the timestamp updates to the new edit time, and that the change appears in both Calendar and Home views.
Check team access and that people can find it.
- Ask a teammate to open the Calendar entry and the Home note to confirm they can view and edit it.
- If your team uses templates or profiles for planning, open the relevant template or profile and check the note gives the context you intended.
Troubleshoot common visibility problems.
- If the note doesn't appear in Calendar or Home, refresh both views.
- If refreshing doesn't help, reopen the note editor and confirm the last save confirmation was shown.
- If the note still doesn't appear, save it again explicitly, or recreate it and confirm the save confirmation.
Final verification checklist:
- Note is visible beside the correct calendar entry.
- Note appears in Home notes with the same title, theme, and timestamp.
- Note content is editable, and saves update the timestamp.
- Team members can view or edit the note as expected.
Next steps and practical tips:
- Edit or delete notes from either Calendar or Home; changes sync to both views after saving.
- Use concise themes and titles so notes are easy to scan during scheduling reviews.
- When pairing notes with Templates or Profiles, mention the template name in the note so reviewers know which setup to apply.
The note you created in this tutorial should now be visible next to the scheduled post in Calendar and listed in Home notes, with a theme, timestamp, and editable content for your team to review.
Troubleshooting and next steps
Quick checklist to run first
- Confirm the note was saved after editing.
- Confirm you created the note using the Add note action next to the calendar item, if you wanted it attached to a post.
- Open Calendar and Home to check the note appears in both places.
If the note isn't visible where you expect
- Refresh the Calendar view and the Home view.
- If it's still missing, open Home > Notes and search or scan for the note title or theme.
- If it appears in Home but not next to the post, recreate the note using the Add note action beside the calendar item, so it's placed with that entry.
How to edit a note
- In Calendar or Home, click the note to open it.
- Change the title, theme, or body text in the note editor.
- Click Save. After saving, the updated text and timestamp should appear in both Home and next to the calendar entry.
How to delete a note
- Open the note from Calendar or Home.
- Choose Delete or the bin action in the note editor.
- Confirm deletion. The note should be removed from both Calendar and Home views.
If the timestamp is missing or wrong
- Open the note and confirm a timestamp or date is visible in the editor.
- If the editor shows a timestamp but it doesn't display in Calendar or Home, save the note again and refresh both views.
- If the problem carries on, check you're on the latest version of the app in your browser (reload or clear the site cache).
Permissions and team access issues
- Confirm your account and team role allow you to create and edit notes.
- If teammates can't see or edit a note, ask them to refresh their Calendar and Home views.
- If a teammate still can't access a note, check the team settings or contact the account admin to confirm collaborative access.
Common UI hiccups and fixes
- Creating a note but leaving the editor without clicking Save means it won't attach or publish. Always use Save.
- Creating a note from Home doesn't always attach it to a specific calendar entry. Use the Add note action next to the calendar item when you need the note attached to a post.
- If a note looks out of date, refresh both Calendar and Home to clear temporary UI caching.
Next steps to improve planning
- Use a clear theme or label when creating notes (campaign, creative, approvals) so teammates can scan them quickly.
- Add short checklists or bullet points inside a note for quick operational tasks tied to the scheduled post.
- When preparing a new post from a saved Template, open the related note in Home to copy the context or requirements into the post draft.
- Use Profiles to confirm which brand or social identities the post and its note relate to, so the publishing context is clear.
- Get into the habit of attaching notes directly beside the calendar entry when you schedule the post, so planning and execution stay linked.
When to contact support
- After trying the steps above, contact support if notes still don't sync between Home and Calendar for multiple users.
- Give them the note title, where you created it (Calendar or Home), and the exact views where it does or doesn't appear.
Conclusion
The note should now be saved, themed, timestamped, and visible both in Home and beside the scheduled post in Calendar. Use the troubleshooting steps above to fix visibility or editing problems, and attach notes directly next to calendar entries when you need the planning context to travel with each scheduled post.


 Google review
 Trustpilot review
 Product Hunt comment





